A practical guide to coquina shell care in Northeast Florida
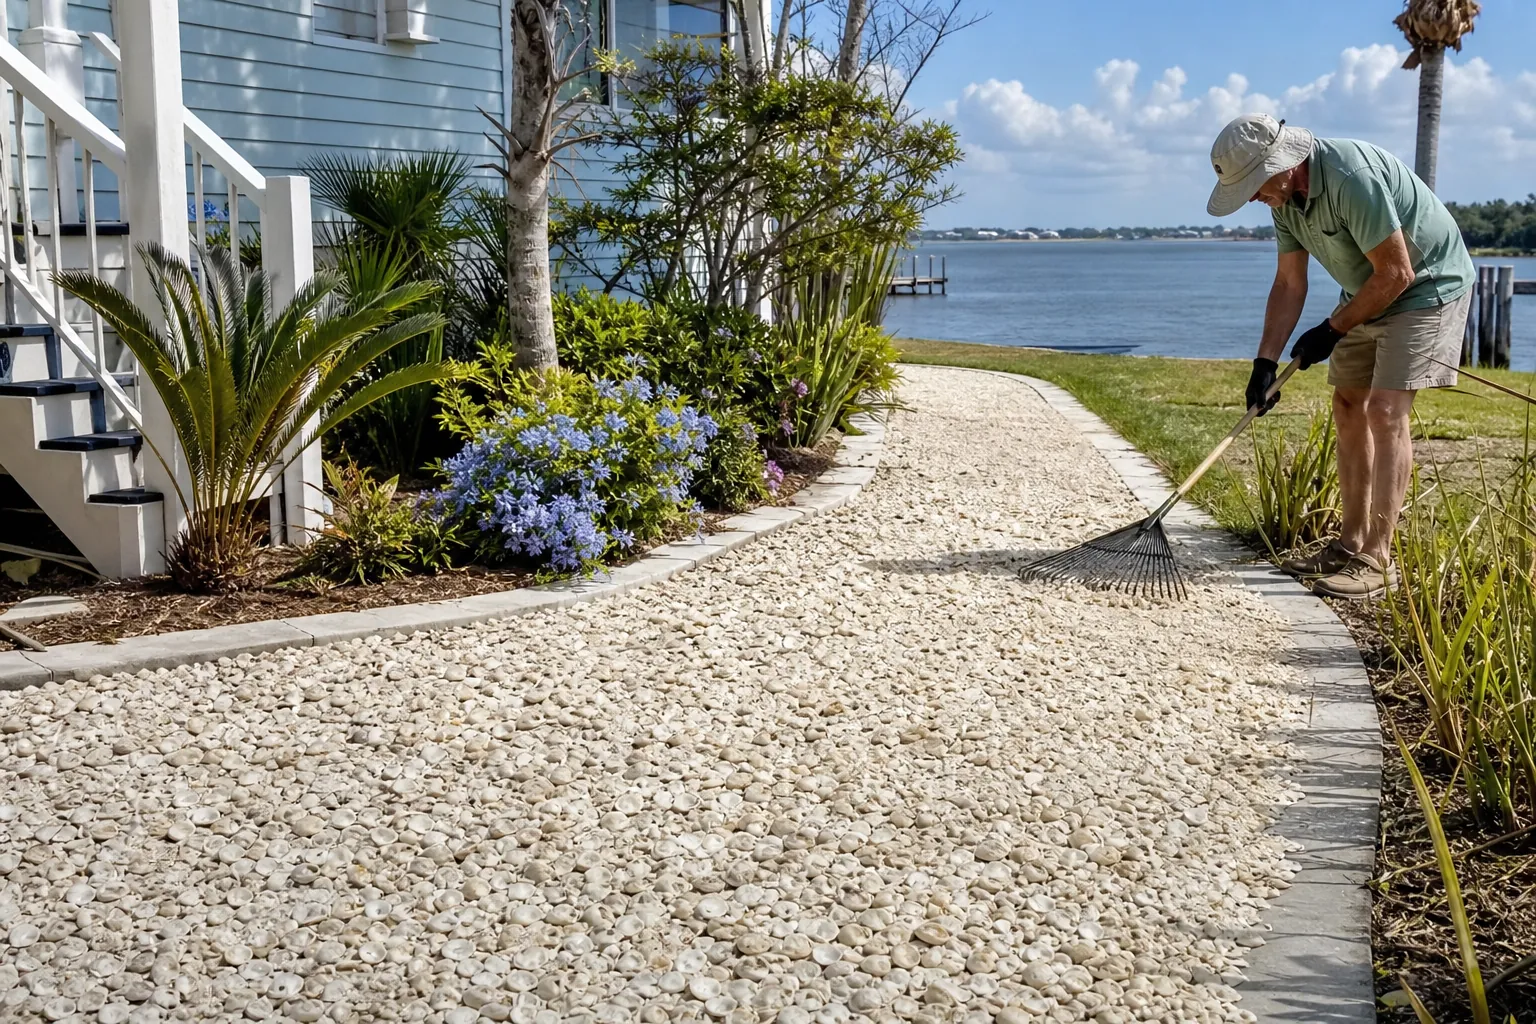
Coquina shell brings a natural, coastal look to garden beds, walking paths, and other landscape areas. Keeping that look depends on more than occasionally adding fresh material. Drainage, edging, nearby vegetation, and everyday use all affect how shell behaves after it is spread.
For homeowners researching coquina shell maintenance in Northeast Florida, the most useful starting point is to separate routine surface care from problems underneath the material. A few scattered shells need a different response than a low spot that stays wet after every storm.
This guide focuses on buyer decisions and practical DIY care. Tropical Yards is a supplier of coquina shell and tropical plants, with dump trailer delivery from St. Augustine to Daytona Beach. The company does not install materials or provide yard maintenance. Use these steps to plan your own work and make better-informed material orders.
Understand The Material Before Planning Its Care
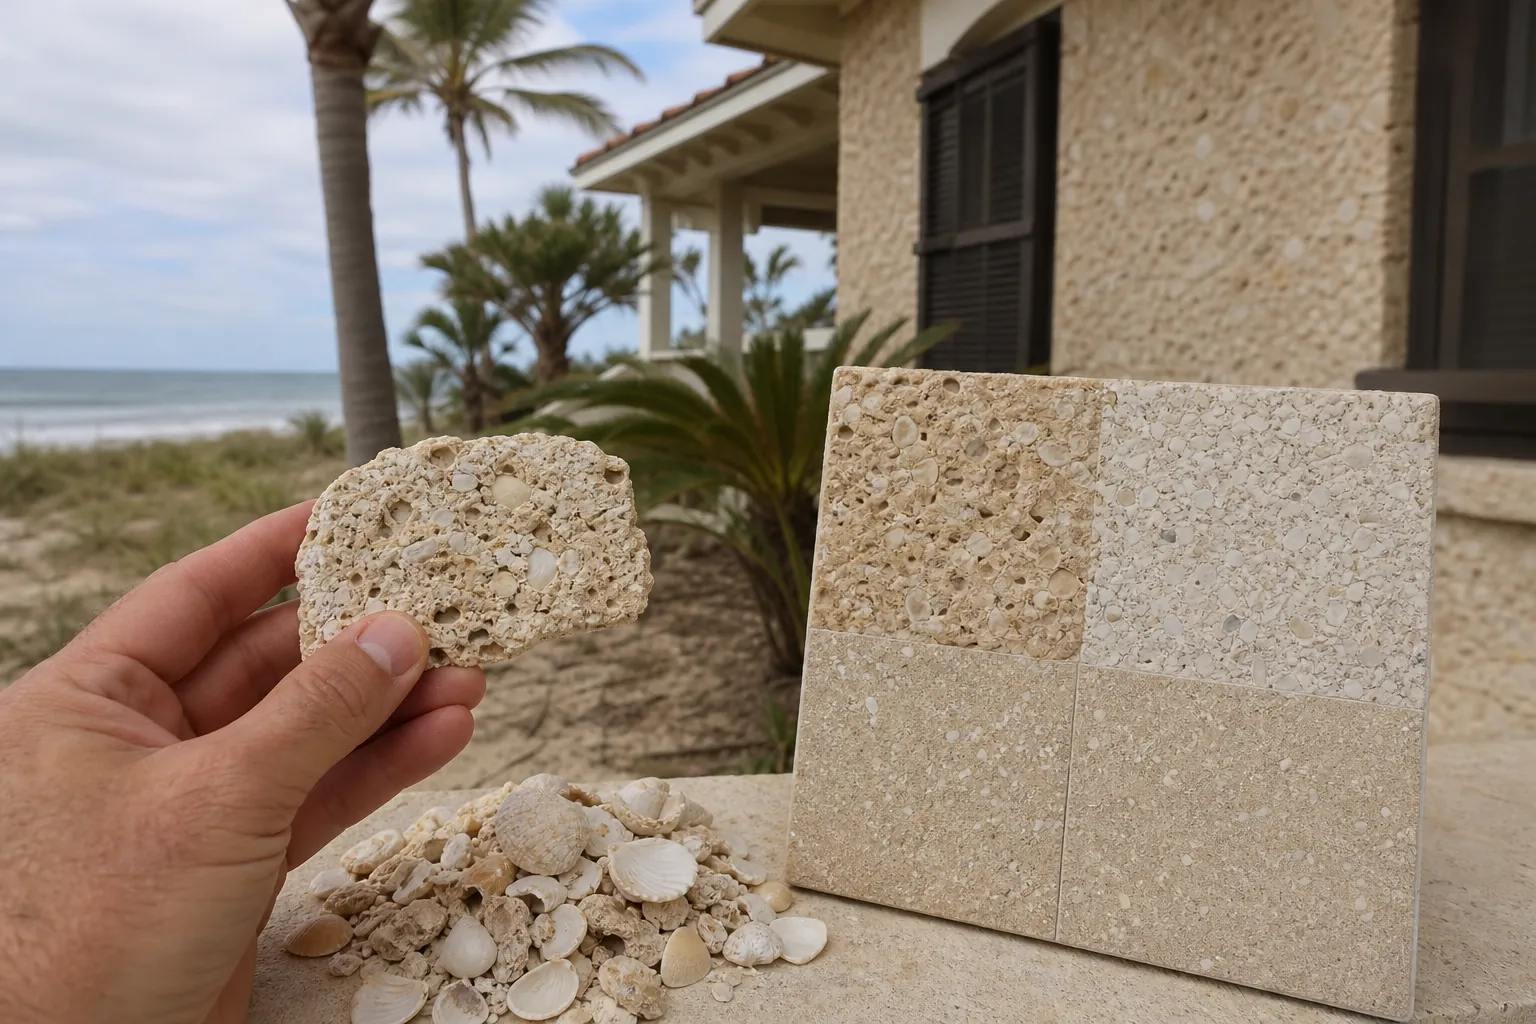
Coquina shell is a shell-based landscape material, not a uniform manufactured surface. Its appearance and texture can vary with the mix of fragments and finer material. Before buying, ask what the current material looks like and whether a representative photo or sample is available.
How you intend to use it matters. A decorative bed has different expectations than a frequently traveled path. Foot traffic can shift loose fragments, while runoff can move fine particles or carry soil onto the surface. Material that looks suitable in a photo may feel different underfoot.
Start with the coquina shell information page when considering the material itself. This maintenance guide addresses what happens after you place shell, rather than replacing product selection and ordering information.
- Ask about the current shell mix so you can judge its suitability for your intended use.
- Consider whether people will cross the area barefoot, push a cart over it, or mainly view it from a distance.
- Keep a photo of the newly spread surface so future changes are easier to recognize.
- Save your order details to help explain what you bought when you eventually need replenishment.
Do not assume every replenishment order will match an older surface exactly. Weathering, accumulated soil, and differences between material batches can make fresh shell look noticeably different at first.
Check Drainage Before Adding More Shell
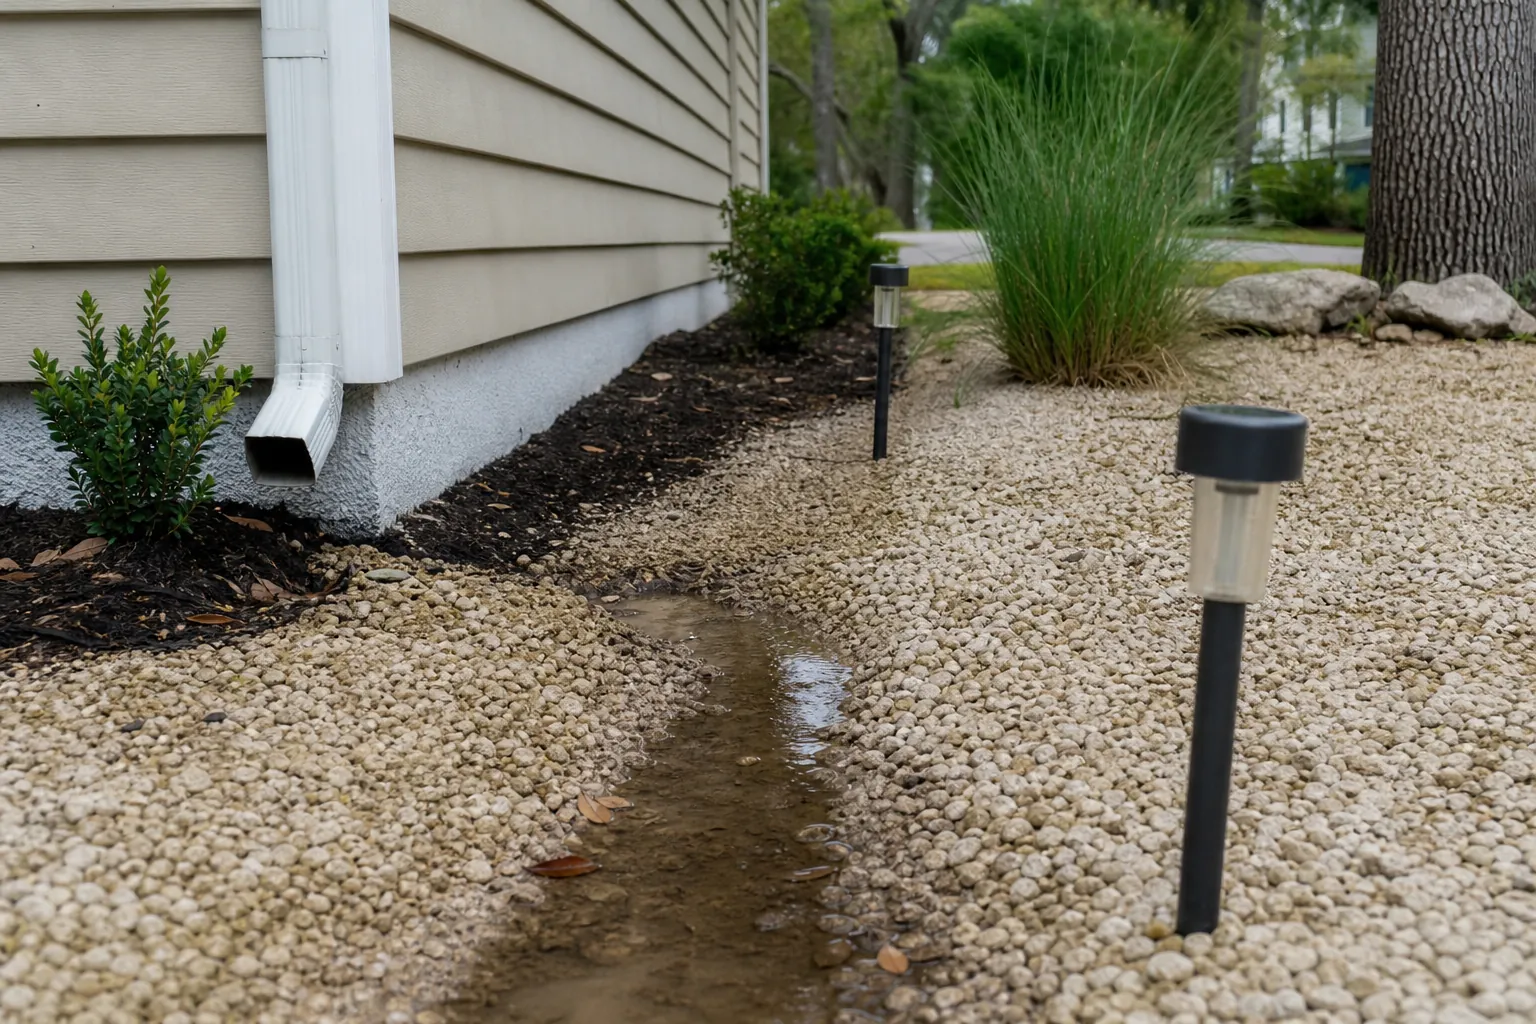
Northeast Florida rainfall can reveal weak spots in a shell surface quickly. After a substantial rain, inspect the area once conditions are safe. Look for puddles, channels, displaced fragments, and muddy deposits. Those clues help distinguish normal settling from a recurring drainage issue.
A thin patch beneath a roof drip line may be receiving concentrated water. A path beside a sloping lawn may collect soil washed from higher ground. Simply covering either problem with more shell can hide the symptom briefly without addressing its cause.
Check nearby downspouts, irrigation spray, and the direction water travels across the property. Do not redirect runoff toward a neighbor, building foundation, septic component, or public walkway. Significant grading or drainage changes may require advice from a qualified professional.
- Watch where water enters the shell area rather than inspecting only where it collects.
- Mark recurring low spots so you can compare them after separate rain events.
- Check whether irrigation is wetting the surface unnecessarily or washing soil into it.
- Resolve persistent drainage concerns before ordering material solely to cover wet or eroded areas.
If a small surface depression appears to be ordinary settling, carefully redistribute nearby shell with a rake. Stop if you uncover a soft or unstable base. That condition calls for closer investigation, not repeated top-ups.
Use A Light Routine For Surface Care
Regular observation usually makes DIY shell care more manageable. Check high-traffic sections, bed edges, and areas under trees more often than quiet decorative spaces. Let the amount of use and debris guide your schedule instead of following an arbitrary calendar.
Remove fallen branches and large leaves before they become mixed into the shell. Organic debris breaks down into finer material that can support weeds and darken the surface. A leaf rake used gently can help, but aggressive raking may drag shell out with the debris.
A blower may work for light, dry leaves if you use a low setting and a shallow angle. Test a small section first. Stop if shell fragments begin moving, and keep debris away from storm drains and neighboring property.
For localized soil deposits, collect what you can without digging deeply into the shell layer. Pressure washing is generally a poor default because it can scatter fragments and disturb the underlying surface. Avoid trying to make an outdoor shell area look permanently untouched.
- Pick up larger debris by hand when that is less disruptive than using equipment.
- Rake displaced shell gently back into shallow footprints or worn spots.
- Wear gloves, sturdy shoes, and eye protection when handling or moving loose material.
- Pause work when the surface is saturated, especially if walking on it leaves deep impressions.
Keep your inspection simple. Notice new weeds, exposed soil, loose edging, and anything that creates a trip hazard. Addressing a small change early is usually easier than sorting through a heavily mixed surface later.
Control Weeds Without Treating Shell As A Barrier
Shell does not make an area weed-proof. Seeds can land in leaf litter or windblown soil on top of the material. Weeds may also emerge through thin areas or along edges where lawn grass spreads inward.
Pull small weeds before they establish extensive roots or produce seed. Work carefully so you do not bring large amounts of underlying soil to the surface. When roots resist removal, use an appropriate hand tool and replace displaced shell afterward.
Pay particular attention to the boundary between shell and turf. Grass creeping over that edge can be mistaken for weeds growing through the middle of the material. Maintaining a visible boundary makes it easier to see where the problem begins.
If you are considering a weed-control product, read its label and confirm that the proposed use is permitted. Follow directions for application, protective equipment, weather conditions, and proximity to desirable plants. Do not assume a homemade treatment is harmless to soil, pets, or nearby roots.
For future DIY projects, research whether an underlying separation fabric fits the intended use. Fabric has tradeoffs and does not prevent seeds from germinating in debris above it. Retrofitting it beneath an existing shell surface is a substantial project, not a routine maintenance shortcut.
Keep Edges Defined And Shell Where It Belongs
Edges often show wear before the center of a shell area does. Foot traffic, mower wheels, and rain can push fragments into adjacent grass or onto paving. A clear boundary helps contain material and makes routine checks more straightforward.
Inspect existing edging for loose sections, gaps, and places where shell has overtopped it. If you plan to add or replace edging yourself, choose a product suited to the location and follow its instructions. Keep accessibility and trip hazards in mind.
Recover scattered shell only when it is reasonably clean. Material heavily mixed with lawn clippings, roots, or mud may bring unwanted debris back into the surface. Do not rake contaminated material into a garden bed simply to avoid disposing of it.
- Keep shell below a practical containment edge rather than piling it against the top.
- Remove loose fragments from paved walking areas before they become a slipping concern.
- Check transitions near gates and steps, where repeated movement can create uneven spots.
- Keep lawn equipment positioned so it does not throw shell toward people, windows, or vehicles.
If the same edge repeatedly loses material, reconsider how people move through the space. A turn, shortcut, or narrow entrance may concentrate traffic. Adding shell without addressing that pattern can lead to the same problem again.
Decide When To Redistribute Or Replenish
Not every patchy area needs another order. First remove debris and gently level the existing shell. Material may have migrated toward an edge or collected in a shallow ridge. Redistributing it can reveal whether there is an actual shortage.
Replenishment becomes worth considering when the existing layer no longer covers the intended area adequately after leveling. Exposed soil, persistent thin sections, or a changed project footprint can all prompt a new material calculation.
Do not use a universal depth recommendation without considering the application and existing conditions. A decorative bed, a walking route, and an area receiving concentrated runoff need different evaluation. Ask about the material characteristics, and obtain project-specific advice when base preparation or structural performance is involved.
Separate cosmetic goals from functional concerns. Fresh shell may improve the appearance of a weathered section, but it will not automatically fix poor drainage, unstable ground, or an awkward transition. Repeatedly adding material can also raise the surface where height should remain controlled.
Before replenishing, check clearances at paving, doors, edging, and nearby plants. Preserve visible transitions and avoid creating a raised lip that catches feet. Photograph and measure thin areas individually if the rest of the surface is still satisfactory.
Calculate A Top-Up Order From Actual Measurements
A replenishment order should reflect the area that needs material, not necessarily the entire original project. Sketch the shell surface and divide irregular shapes into smaller rectangles or triangles. Measure those sections and record the units clearly.
For a rectangular section, multiply length by width to find square footage. Multiply square footage by the intended added depth in feet to estimate cubic feet. Divide cubic feet by 27 to convert that volume to cubic yards.
For example, a 10-foot by 12-foot section has an area of 120 square feet. Adding one inch across that area gives a geometric estimate of about 10 cubic feet, or roughly 0.37 cubic yard. This example illustrates the calculation only; it is not a recommended depth or an available order size.
- Measure several spots to understand how much coverage remains before choosing an added depth.
- Separate full-coverage areas from isolated patches so the estimate reflects the actual work.
- Ask Tropical Yards how coquina shell is sold and what delivery quantities are available.
- Explain whether your calculation is for a new surface or a top-up over existing material.
Allow for the limits of a geometric estimate. Irregular ground, material variation, and how you spread the shell can affect the amount needed. Confirm ordering details with the supplier rather than assuming your calculated volume corresponds exactly to a load.
Plan Dump Trailer Delivery Before Ordering
Tropical Yards provides dump trailer delivery of coquina shell and plants from St. Augustine to Daytona Beach. Before placing an order, discuss your address, access conditions, and proposed unloading location. Delivery is material transport, not installation or spreading.
Choose a staging location that lets you move shell to the project without blocking essential access. Consider the distance you will push a wheelbarrow, the slope of that route, and whether gates are wide enough for your equipment.
Tell the supplier about narrow approaches, low branches, overhead wires, tight turns, soft ground, and other potential obstructions. A dump trailer needs appropriate access and unloading clearance. Do not assume that a passenger vehicle reaching the site means a delivery setup can use it.
- Confirm the unloading location and any access restrictions before delivery day.
- Keep parked vehicles, tools, and other movable obstacles out of the agreed access area.
- Identify irrigation components, septic areas, and surfaces that should not receive a load.
- Ask how wet weather or questionable ground conditions could affect the delivery arrangement.
- Have your own tools and labor arrangements ready for moving and spreading the material afterward.
Check community or property rules if a load could affect shared access. If you cannot move the material immediately, plan a temporary location that does not obstruct drainage or create a public hazard.
Protect Nearby Tropical Plants During DIY Work
Shell care and plant care overlap where beds meet trunks, stems, and roots. Keep shell from accumulating directly against palm trunks or the bases of shrubs. Preserve the plant's appropriate planting level rather than gradually burying it during repeated top-ups.
Shell-based materials can influence soil chemistry, which matters for plants with particular pH needs. If nearby plants develop persistent growth problems, consider a soil test through an appropriate local resource instead of assuming they need more fertilizer or water.
When raking near established plants, avoid cutting shallow roots or scraping stems. Check irrigation emitters after spreading material so they remain positioned to water the intended root area. Shell coverage should not conceal a leak or prevent you from inspecting irrigation components.
Tropical Yards also sells palm trees, hibiscus, bougainvillea, ferns, and other tropical plants. If you are buying plants for a nearby bed, ask about the specific plant's light, soil, moisture, and cold-tolerance needs. Planting and ongoing care remain your responsibility.
A Practical Checklist Before Your Next Order
Walk the surface after dry weather and again after rain. Compare the locations of thin spots, puddles, weeds, and displaced shell. That brief review helps you decide whether you need a small adjustment, a drainage investigation, or additional material.
- Remove debris and redistribute usable shell before calculating a top-up.
- Check edges and walking transitions for loose material or uneven heights.
- Measure the sections that actually need replenishment.
- Confirm material details, available quantities, and delivery access with the supplier.
For coquina shell sales, tropical plant sales, or dump trailer delivery from St. Augustine to Daytona Beach, call Tropical Yards at 772-267-1611. Bring your measurements, intended use, and access questions to the conversation. A clear buying plan helps you organize the DIY work without confusing material delivery with installation or maintenance services.
Call 772-267-1611 to talk through next steps.