Choosing edging to contain coquina shell in Florida
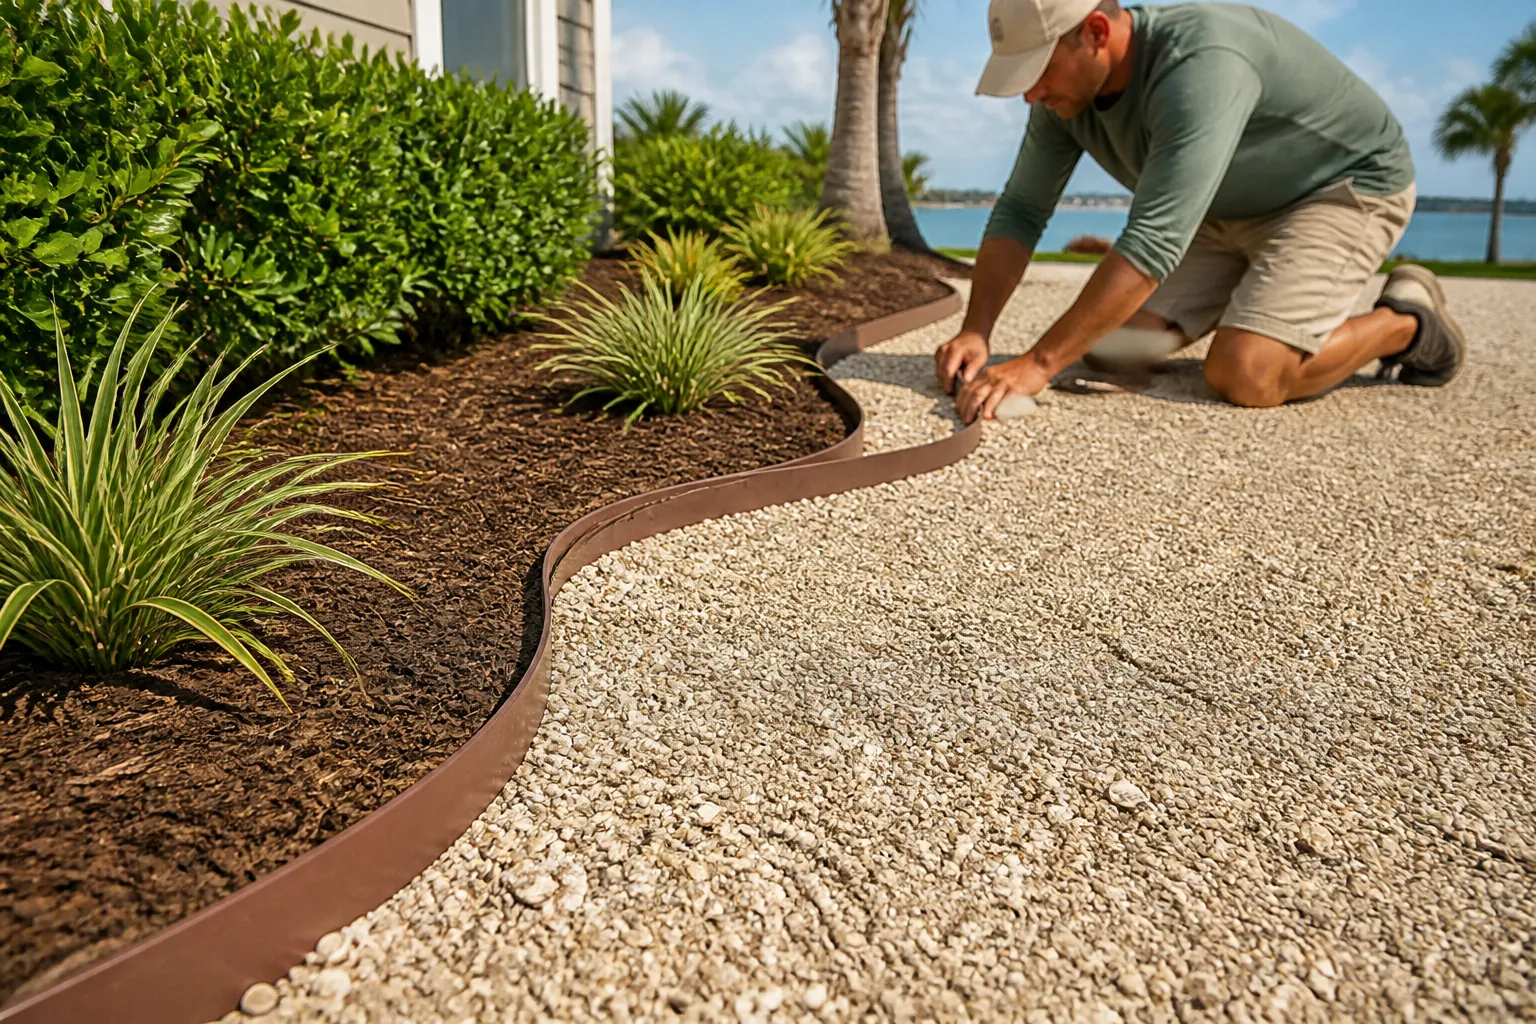
Coquina shell gives Florida paths, planting beds, and landscape accents a coastal appearance, but loose material needs a clear boundary. Without one, shell can migrate into grass, spread across adjoining pavement, or collect outside the area you intended to cover. The right border makes that boundary easier to preserve.
Choosing edging to contain coquina shell starts with understanding how the space will be used. A quiet planting bed has different demands than a walking path beside a lawn. Soil conditions, runoff, curves, and nearby roots also influence which edging makes sense.
Tropical Yards supplies coquina shell and tropical plants, with dump trailer delivery from St. Augustine to Daytona Beach. This guide is for buyers and DIY users planning their own borders. For material information before selecting a boundary, visit the coquina shell page, then use the guidance below to plan containment and delivery.
Start With What The Border Must Contain
Edging is a physical barrier, not a substitute for a stable base or sensible drainage. Its job is to separate materials and limit sideways movement. If water regularly rushes through a shell area, even a sturdy border may not prevent displacement.
Look at the proposed area after rain, if possible. Notice where water enters, where it leaves, and whether sand or soil already washes across the surface. A border that blocks a natural drainage route can create ponding or redirect runoff toward a building.
Next, consider the forces that will move the shell. Foot traffic can kick pieces outward. Lawn equipment can catch material near a low edge. Tires create loads that ordinary garden edging is not intended to handle. Choose the border around those conditions rather than appearance alone.
- For a planting bed, prioritize a continuous separation between shell, soil, and nearby turf.
- For a walking path, consider foot placement, edge visibility, and whether the border could become a trip hazard.
- For an area beside pavement, check whether shell can spill onto a sidewalk or travel into a driveway.
- For any vehicle-access area, seek guidance on a suitable base and restraint system rather than relying on light garden edging.
Coquina products can differ in particle size, texture, and the amount of finer material. Ask what is available before finalizing your edging choice. A border detail that works for larger pieces may allow finer shell to escape through gaps.
Compare Edging Materials By Function
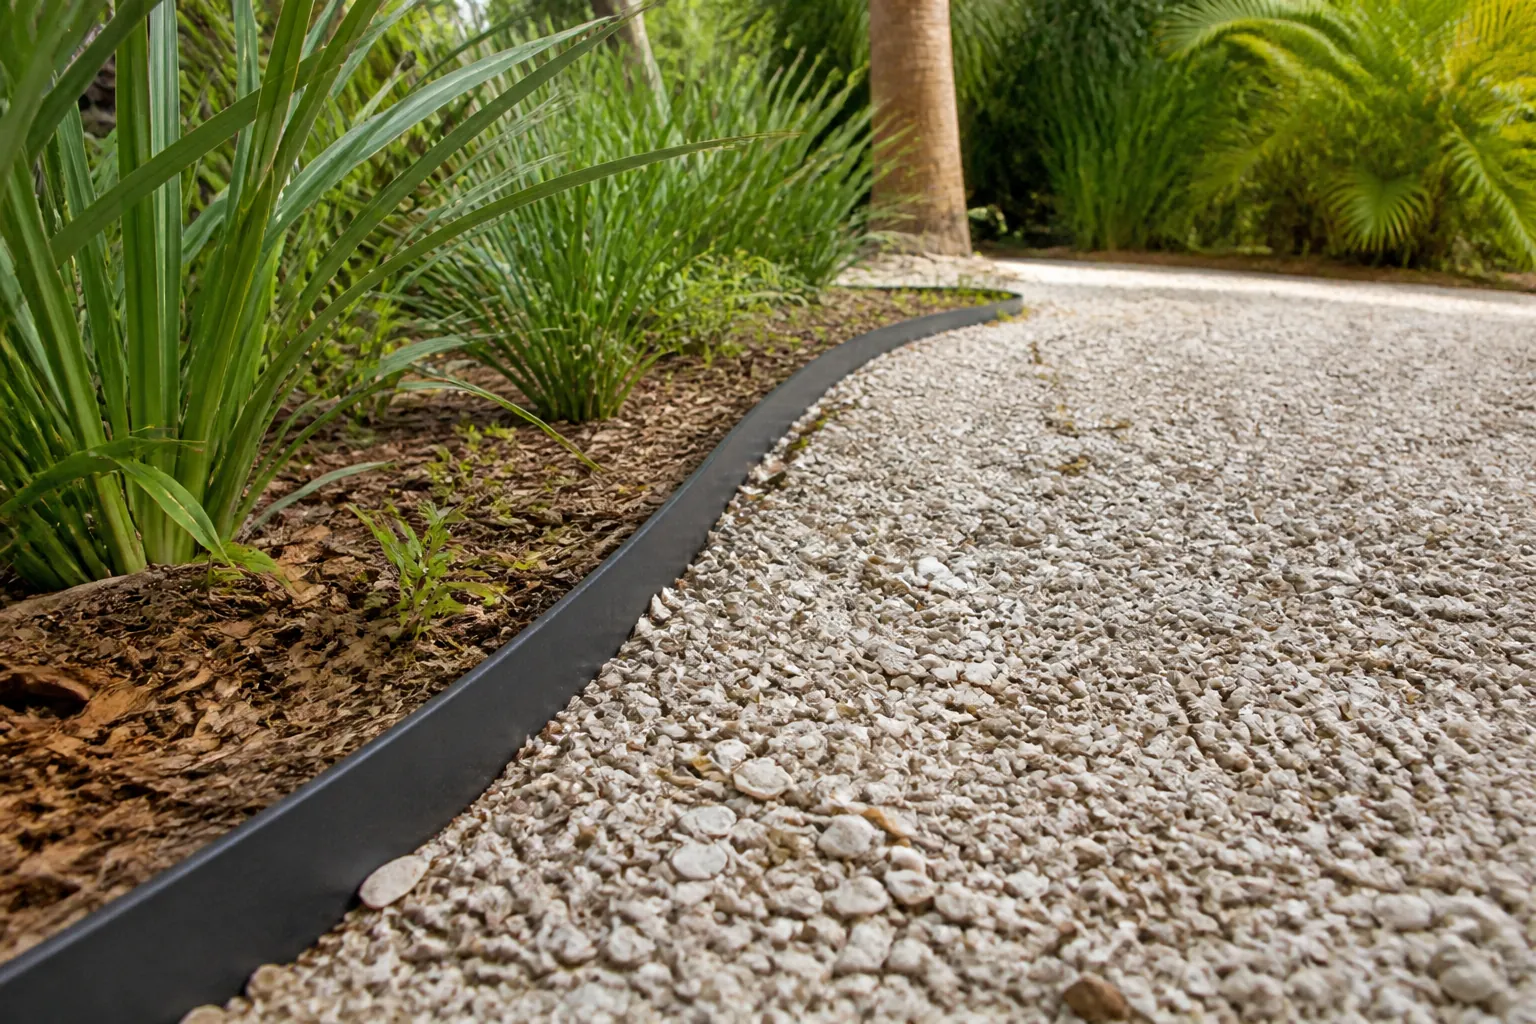
No single edging material is best for every Florida yard. The useful comparison is how well each option holds its shape, follows your layout, tolerates the site, and can be secured using the manufacturer's instructions.
Metal edging
Metal edging creates a relatively narrow boundary and can suit straight runs or gradual curves. Depending on the product, connectors and stakes help keep sections aligned. A smooth, properly finished top edge matters where people walk or work nearby.
Check the material and finish, especially in coastal locations. Steel and aluminum products do not behave identically, and salt exposure can affect durability. Follow product guidance for stake spacing and approved connections. Thin edging that is poorly anchored may lean as shell presses against it.
Plastic or composite edging
Flexible edging can be useful around curved planting beds. Products vary considerably in height, stiffness, and anchoring requirements, so compare the actual specifications instead of choosing by material name alone.
Florida sunlight and heat make UV suitability worth checking. Some flexible products can develop waves if they are stretched, insufficiently anchored, or placed against uneven soil. A carefully prepared trench helps the border stay more consistent.
Concrete edging
Concrete can provide a substantial boundary with a clearly defined top. Precast pieces are an option for some DIY layouts, while other concrete systems require specialized work outside the scope of a simple material purchase.
For precast sections, think about weight, handling, and the support beneath each piece. A heavy border can still settle unevenly on soft ground. Joints also need attention because openings may let finer shell move through.
Brick, paver, or stone borders
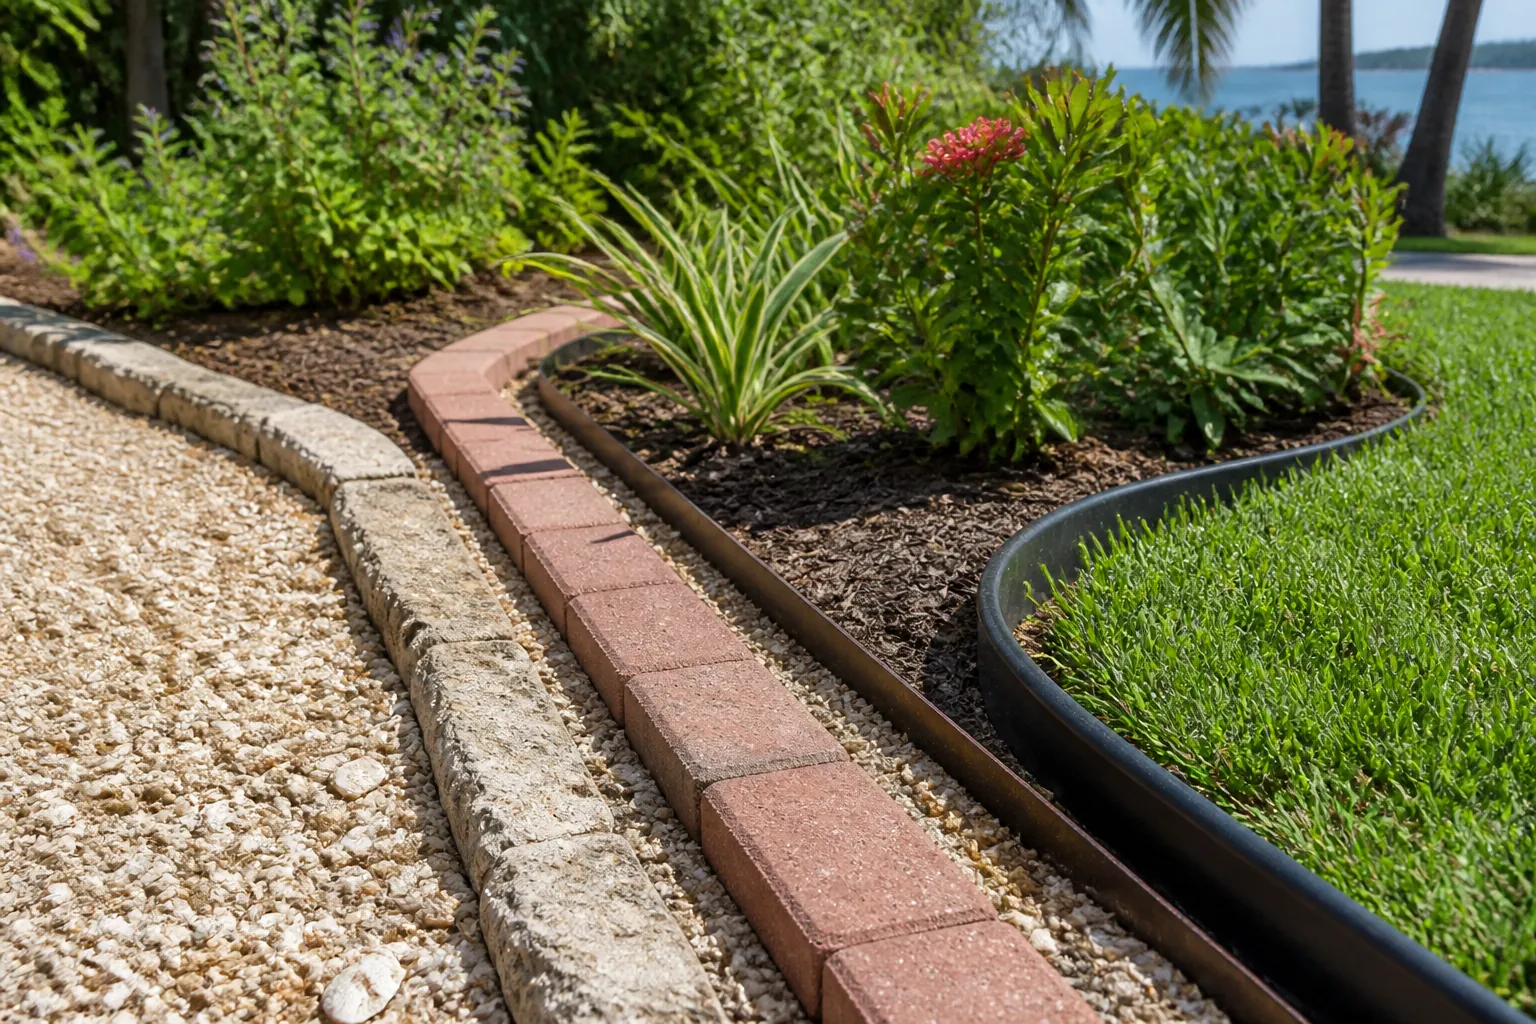
Individual masonry pieces can complement adjoining hardscape and create a wider visual frame. They also introduce many joints, making placement and support important. Simply setting pieces on loose sand may leave an uneven boundary over time.
A low, flat border can be convenient near a lawn, but it provides less above-surface containment than a raised one. Balance that tradeoff with your planned shell level. Do not assume decorative stones placed loosely along an edge will function like a secured restraint.
Wood edging
Wood can create a straightforward boundary, but prolonged moisture, soil contact, and insect exposure deserve consideration in Florida. Choose products intended for the proposed use, and review treatment information before placing them near edible plants.
Wood is generally less convenient for tight curves. Corners and joints need secure connections, and the finished height should account for both the buried portion and the exposed barrier. Avoid letting the border force shell against a building's siding or obscure inspection access.
Set The Height Before Buying The Shell
One common planning mistake is selecting edging by its total height without deciding how much will remain above the finished shell surface. The buried portion provides support, while the exposed portion provides containment. Both matter.
Begin with the intended final surface level. At a pavement connection, determine whether the shell should sit slightly below the adjacent surface to reduce spillover. Along a walking route, avoid creating an unexpected raised edge that catches shoes.
Your border generally needs enough exposed height to resist ordinary sideways movement, but the correct amount depends on the product, shell depth, and use. Follow edging specifications rather than applying a universal measurement to every material.
Mark the finished level on temporary stakes or another clear reference before digging. This makes it easier to check low spots and transitions. Measure from that reference when setting the edging, not just from the existing ground surface.
- Keep the finished shell surface below the top of the containment edge where practical.
- Allow for the support depth required by the edging manufacturer.
- Check corners and pavement connections for gaps that could release shell.
- Avoid raising shell against trunks, exposed root flares, siding, or required building clearances.
If the ground slopes, do not automatically make the entire border level. The layout should respect the site's drainage and intended surface grade. A border that acts like a small dam may cause more trouble than a slightly less uniform visual line.
Plan Curves, Corners, And Openings
A useful shell border is continuous where containment is needed and deliberately open where access or drainage requires it. Sketch the layout before purchasing. Include gate openings, irrigation equipment, utility access points, and connections to existing paths.
For curves, use a hose or rope to preview the shape. Walk beside it and check whether the curve leaves enough room for comfortable passage. A line that looks attractive from a window may create an awkward narrow spot at ground level.
Gentle curves are usually easier to build consistently than tight bends. Check the minimum bend guidance for your selected edging. Forcing a rigid product around a tight corner can create stress, poor connections, or a top edge that twists.
At corners, use the connectors or corner pieces intended for the product. Overlapping two loose sections can leave a pocket where shell collects or a gap where it escapes. Masonry corners also need a stable arrangement rather than unsupported pieces balanced on uneven ground.
Where the shell meets a gate or walkway, decide how the material will stop. A short cross-border may help, provided it does not create a hazard or interfere with access. Review drainage at that transition before closing it off.
Prepare The Site For A DIY Border
Before digging, arrange appropriate utility locating and identify private irrigation or other lines that may not be covered by public locating services. Check applicable local requirements and property restrictions when changing drainage or working near shared boundaries.
Remove vegetation from the intended shell footprint as part of your own site preparation. Do not bury existing weeds and assume shell will permanently stop their growth. Roots and seeds can remain, and new seeds may arrive later.
Prepare a consistent edge trench or supporting surface according to the selected product. Uneven support can make the border lean or settle. Avoid cutting substantial tree roots to fit a preferred line; adjust the layout or seek qualified advice instead.
Landscape fabric is a separate decision from edging. It may help separate shell from underlying soil in some applications, but it does not eliminate weeds and can complicate later changes. Choose any separation layer based on the intended use, soil, and drainage rather than treating it as mandatory.
- Establish the final outline before excavating or ordering material.
- Prepare the edging support according to its manufacturer's directions.
- Secure and connect the border before filling against it.
- Check the border from several angles for leaning sections and inconsistent height.
- Leave planned access to irrigation components and other service points.
Once the edging is secure, place shell gradually rather than pushing a large mound directly against a new border. Spread it in manageable amounts and check the finished height as you go. Avoid overfilling simply because extra material remains.
Measure The Shell Area And Border Separately
Shell quantity and edging quantity use different measurements. Shell planning starts with surface area and intended depth. Edging planning starts with the length of the boundary. Keeping these separate reduces ordering confusion.
For a rectangular area, multiply length by width to find square footage. Break irregular areas into smaller shapes and add their areas together. Subtract spaces that will remain unfilled, such as planting openings or existing hardscape.
To estimate volume in cubic feet, multiply the square footage by the depth expressed in feet. To convert inches to feet, divide by 12. Divide cubic feet by 27 to express the result in cubic yards. These calculations describe volume, not weight.
Do not convert that volume to a shell order using an assumed density. Product characteristics and the supplier's ordering units matter. Share your measurements and planned use with Tropical Yards and ask how the available coquina shell is sold.
For edging, measure the full perimeter that needs containment, including cross-borders and corners. Then check product lengths, connectors, stakes, and any cutting requirements. Buying border sections without the matching anchoring components can delay the project.
Keep a written sketch with dimensions. It helps you distinguish the main shell area from narrow extensions and avoids counting the same section twice. Recheck your measurements after finalizing curves, since layout changes can affect both quantities.
Coordinate Dump Trailer Delivery With Your DIY Work
Tropical Yards offers dump trailer delivery of plants and coquina shell from St. Augustine to Daytona Beach. Delivery planning should happen before the material arrives, especially if your border is in a backyard or another area separated from the unloading location.
Ask about access requirements and discuss your proposed unloading spot. A location that appears convenient from the street may have soft ground, low branches, overhead obstacles, or insufficient room for safe trailer positioning.
Choose a staging area that will not block essential access. Consider how you will move shell from that point to the finished area, including wheelbarrow routes, slopes, gates, and distance. Do not assume delivery includes spreading material or placing it inside the completed border.
- Confirm the delivery address and explain any access restrictions before scheduling.
- Discuss surface conditions and whether the proposed unloading area is suitable.
- Keep the agreed access route clear of parked vehicles and movable obstacles.
- Have your own tools and a realistic plan for moving and spreading the shell.
- Ask whether a protective ground covering is appropriate for the chosen staging spot.
Tropical Yards is a supplier, not a landscaping labor provider. Border construction, site preparation, shell spreading, and planting are DIY tasks or work you arrange separately. Keeping those responsibilities clear helps you schedule your project around delivery.
Keep Shell Away From Plant Crowns And Access Points
When a shell area surrounds plants, containment includes the inner boundaries as well as the outer edge. Leave appropriate space around trunks, stems, and plant crowns. Shell should not be piled against those parts or used to hide a plant that is set too deeply.
Tropical Yards also supplies palm trees, hibiscus, bougainvillea, ferns, and other tropical plants. Choose plants for the site's light, moisture, space, and soil conditions, then plan shell coverage around their needs. Different tropical plants do not all prefer the same setting.
Because shell contains calcium carbonate, it can affect soil chemistry over time. Consider a soil test when planning around plants sensitive to alkaline conditions. Keep planting soil and shell use intentional rather than assuming every tropical plant will suit a shell-covered bed.
Maintain access to irrigation emitters, valves, and drains when you spread the material yourself. If shell hides these components, later inspection or adjustment becomes harder. A clearly marked opening or accessible cover can prevent unnecessary disturbance.
Check The Border Before You Finish
Walk the perimeter after spreading the shell. Look for spillover, leaning sections, exposed sharp edges, and low points where material can escape. Check gates and pavement transitions from the perspective of someone using the space, not just viewing it.
After rain, observe drainage again. If water ponds or moves shell toward an opening, investigate the cause before adding more material. More shell will not correct a blocked outlet or an unstable border.
For coquina shell sales, tropical plant sales, and dump trailer delivery from St. Augustine to Daytona Beach, call 772-267-1611. Tropical Yards can discuss available materials and delivery arrangements while you plan the DIY edging and shell work that fits your Florida property.
Call 772-267-1611 to talk through next steps.