How Do You Establish a Drought-Tolerant Tropical Bed in Florida?
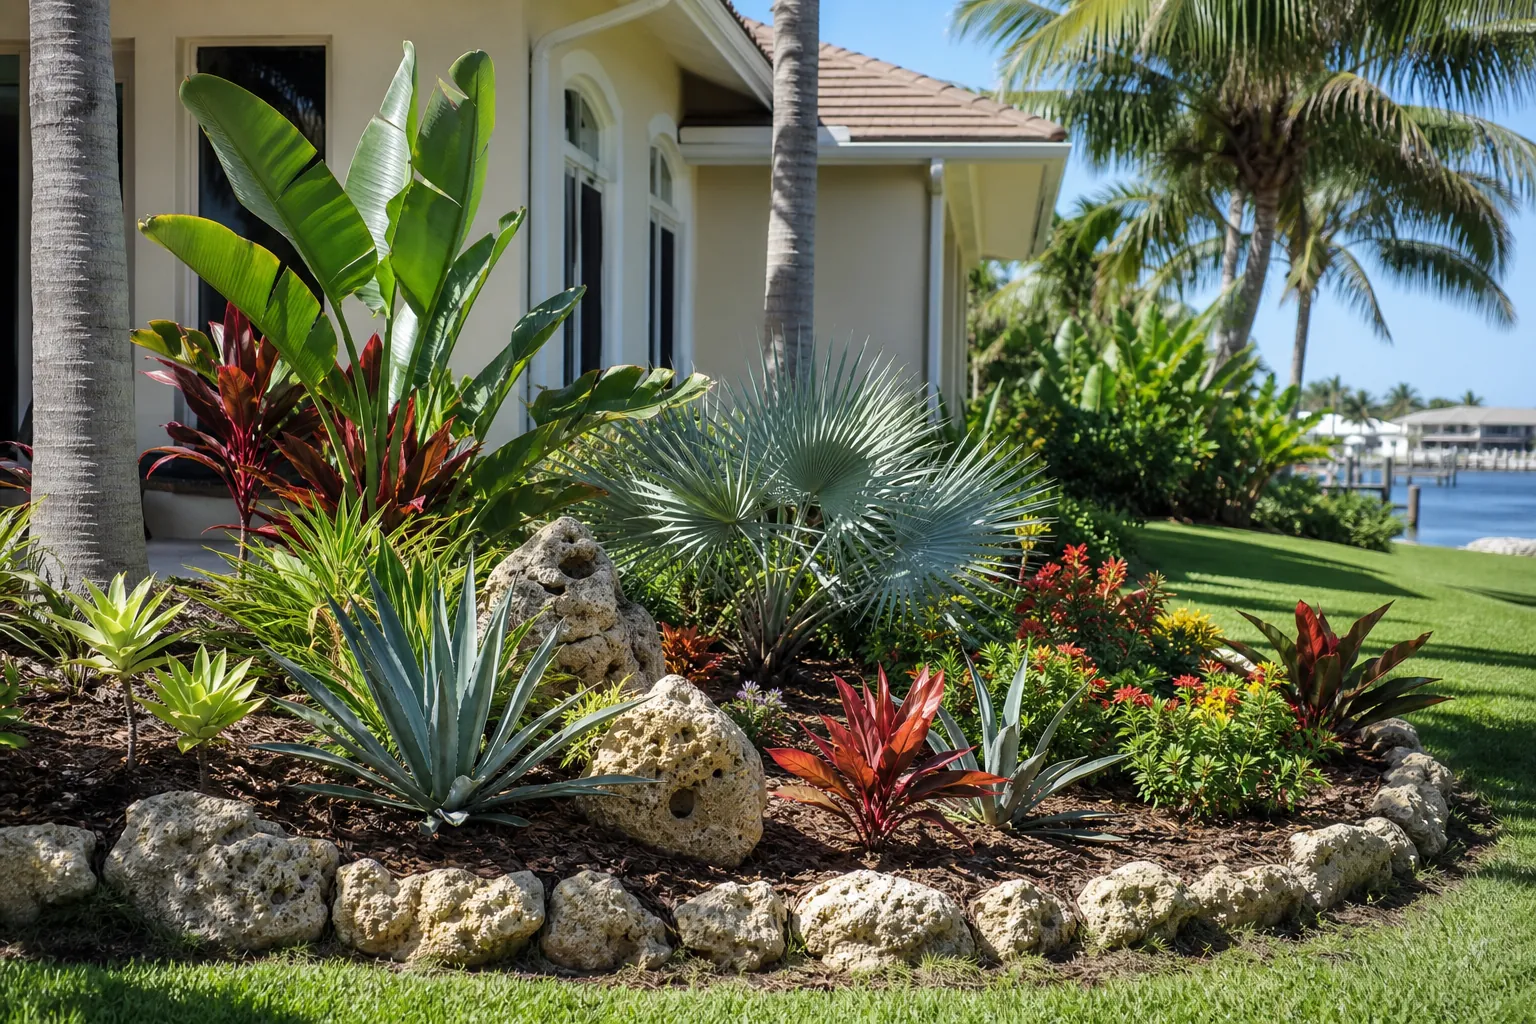
A drought-tolerant tropical bed in Florida starts with careful site assessment, suitable plant choices, and watering practices that help roots become established. The goal is not a bed that never needs water. It is a layered planting that can handle periods of limited rainfall once its plants are established. Before buying plants, study the site's sun, drainage, available space, and exposure. Those observations will guide every later decision, from bed shape to irrigation.
1. Evaluate Sun, Drainage, and Exposure First
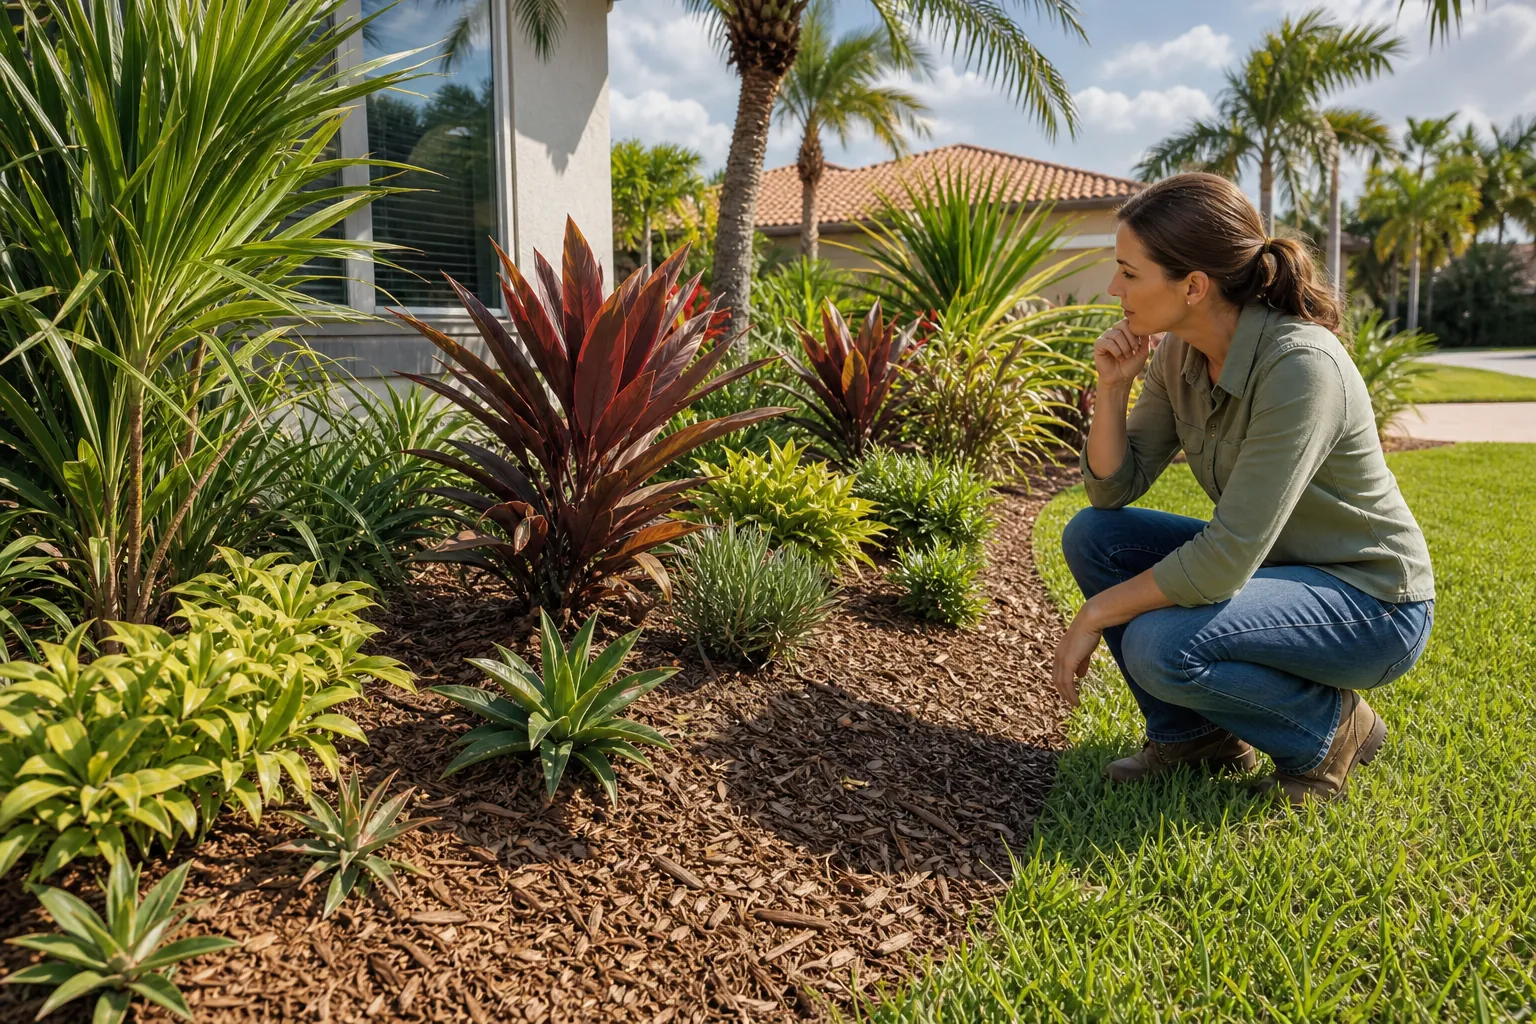
Begin by watching the proposed bed during different parts of the day. Record whether it receives full sun, shifting shade, or protection from nearby structures. A plant labeled drought tolerant may still struggle when placed in light conditions that do not suit it. Also notice where roof runoff lands and where water remains after heavy rain. Drought tolerance does not mean tolerance of constantly wet roots.
Check the soil in several spots rather than relying on one test hole. Soil conditions can change across a single bed, especially near foundations, walkways, or areas that have been filled or graded. Consider wind exposure as well. An open corner may dry more quickly than a sheltered courtyard, increasing water demand while plants establish.
Finally, measure the site. Account for mature plant width, access to utilities, windows, paths, and maintenance areas. This step prevents overcrowding and gives each plant room to develop its natural form without frequent corrective work.
2. Build a Planting Plan Around Mature Size
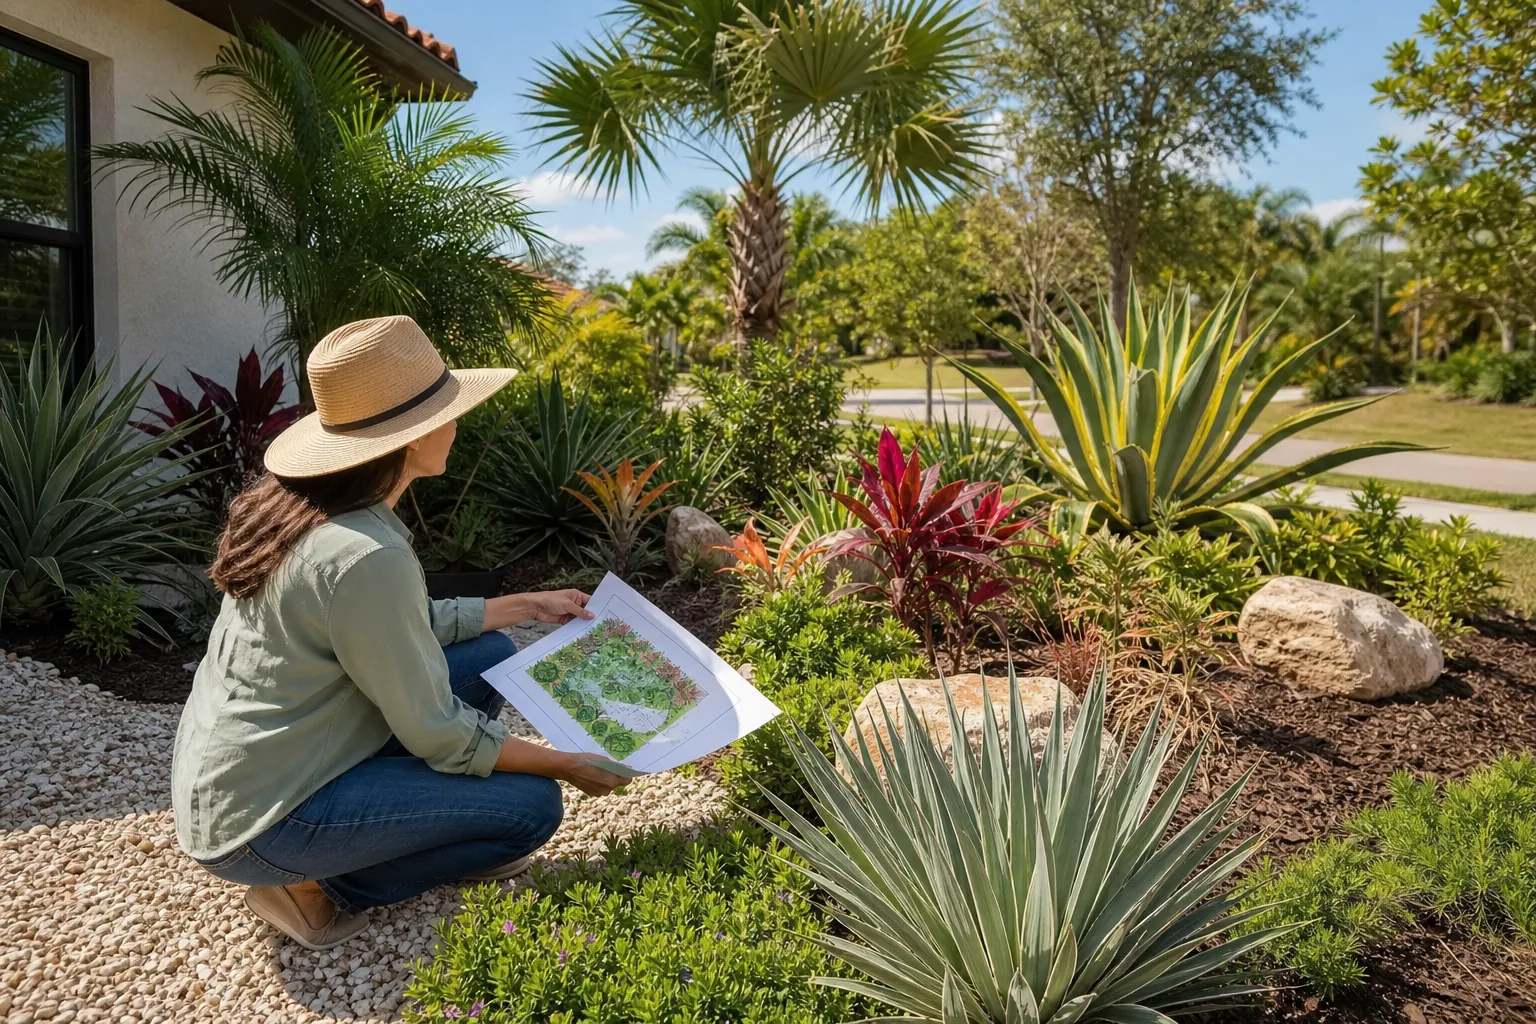
Choose plants by matching their needs to the conditions you documented. A tropical appearance can come from bold leaves, upright forms, contrasting textures, and repeated masses. It does not require packing the bed with plants. In fact, wider spacing can improve air movement and reduce competition for water as roots expand.
Plan the tallest structural plants first, then add medium-height plants and low ground-level material. Keep sightlines clear near driveways and walkways. Place spreading plants where they can grow without covering pavement. When comparing candidates, consider mature size, preferred light, soil drainage, and expected water needs after establishment.
- Use a limited plant palette and repeat key forms for visual continuity.
- Group plants with similar water needs in the same irrigation zone.
- Leave enough space for mature width rather than current container size.
- Keep plants back from walls, paths, equipment, and utility access points.
- Select a focal plant only after confirming that the site suits it.
3. Prepare the Bed Without Creating Drainage Problems
Mark the bed's outline before removing or covering existing vegetation. Curves should be broad enough to maintain easily, while straight edges should align cleanly with nearby architecture or paving. Once the shape is settled, address unwanted vegetation and visible debris before planting. Do not bury construction material or other obstructions in the bed.
Dig test holes to confirm how quickly water moves through the root zone. If water lingers, reconsider the plant selection or location rather than assuming added soil will solve the problem. Avoid creating isolated pockets of heavily amended soil. A dramatic difference between the planting hole and surrounding ground can affect how water moves and may discourage roots from extending outward.
Set each plant at an appropriate depth, avoiding placement that buries the base beneath surrounding soil. Backfill carefully and remove large air pockets without heavily compacting the ground. Shape the finished grade so rainfall moves predictably and does not collect against buildings or paved areas.
4. Water for Establishment, Then Adjust Gradually
Newly installed drought-tolerant plants still need consistent attention while roots grow into the surrounding soil. Water the root area thoroughly after planting, then monitor soil moisture instead of following an unchanging calendar. Container size, temperature, rainfall, wind, soil, and plant type all affect how quickly the root zone dries.
Check below the surface before watering. A dry-looking top layer does not always mean the full root zone is dry. Likewise, recent rain may not have reached deeply enough to support a new planting. The practical objective is deep, effective watering followed by enough time for the soil to drain, not frequent light sprinkling that keeps only the surface damp.
As roots establish, lengthen the interval between waterings when plant condition and soil moisture allow. Make changes gradually and continue checking the bed during hot, windy, or unusually dry weather. If irrigation is present, direct it toward the planted root zones and inspect for blocked or misdirected output.
5. Mulch, Monitor, and Refine the Bed
Apply mulch over exposed soil to moderate temperature, reduce evaporation, and limit weed competition. Keep it in an even layer rather than piling it deeply around plant bases. Mulch should not touch trunks, stems, or crowns because trapped moisture at those points can create avoidable problems. Recheck the layer as it settles or shifts after heavy rain.
During the first months, inspect the bed regularly. Look for weeds, erosion, standing water, exposed roots, irrigation issues, and signs that a plant is poorly matched to its position. Correcting a small grading or watering issue early is easier than replacing a large section later. Avoid assuming that every wilted leaf means more water is needed. Soil moisture and drainage should inform the response.
Seasonal conditions also matter. If the design includes young palms, review this guide on protecting young palms from frost so cold-weather planning is part of the bed's ongoing care.
Discuss Your Tropical Bed
If you are weighing site conditions, spacing, or establishment needs for a Florida tropical bed, call Tropical Yards calmly at 772-267-1611 to discuss your project.
Call 772-267-1611 to talk through next steps.