Removing sod before laying coquina shell in Florida
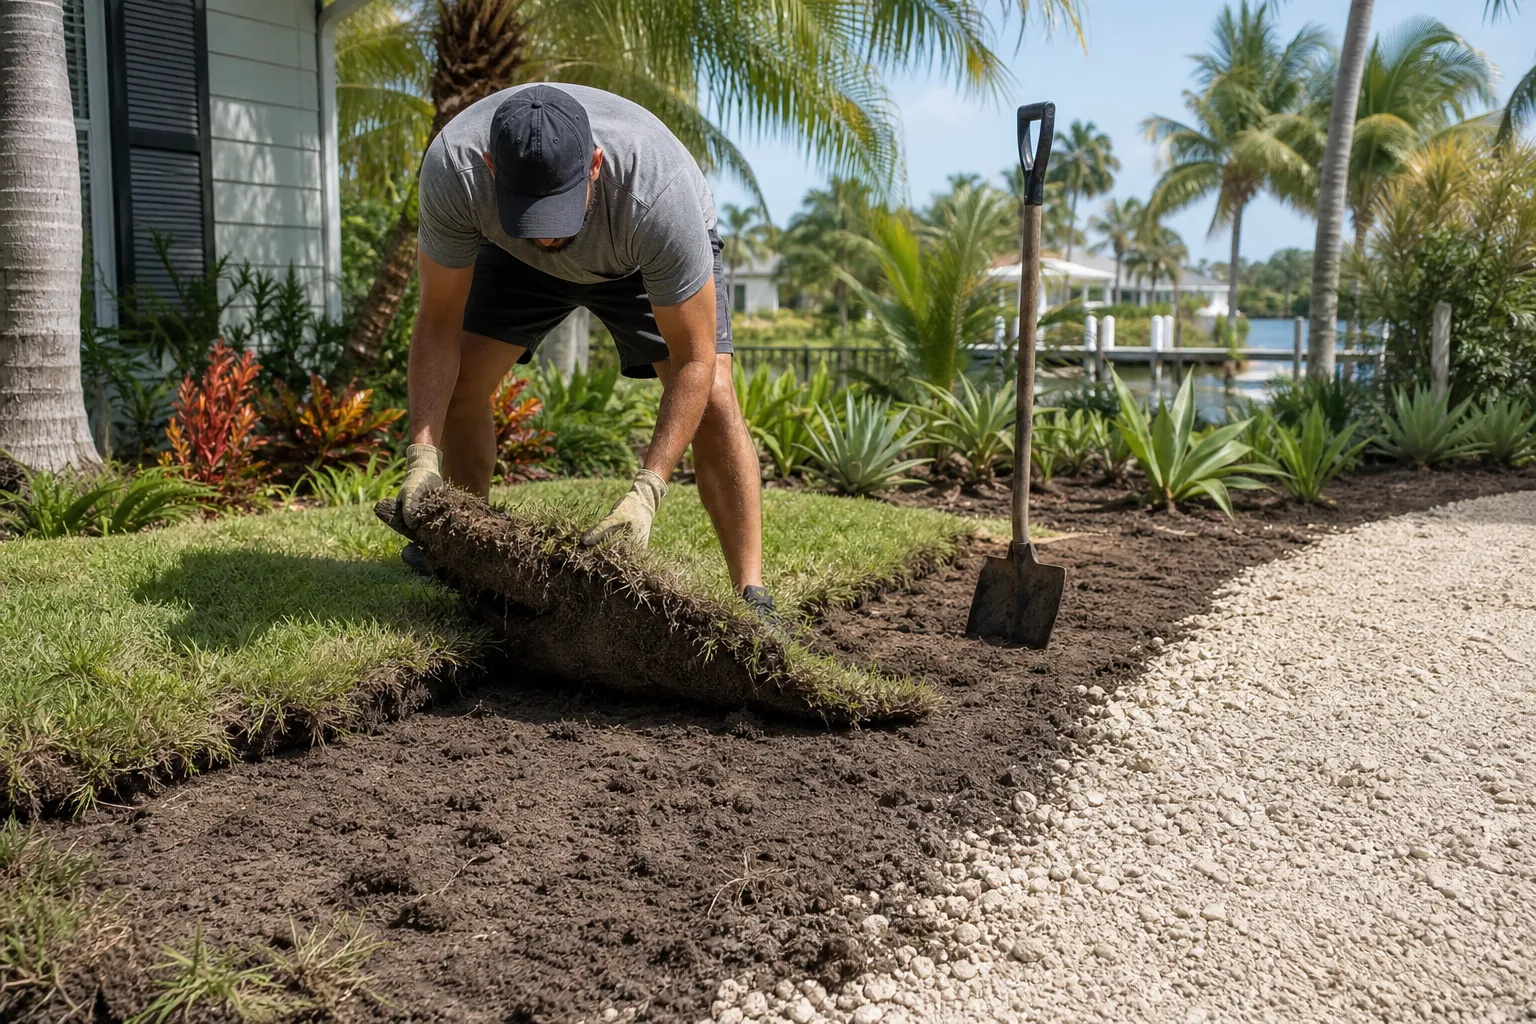
A coquina shell path or sitting area starts with what is underneath it. If you spread shell directly over living grass, the turf can continue growing through the surface while buried roots and thatch gradually break down. The result may be an uneven area that needs more correction than a properly prepared project.
Removing sod before laying coquina shell gives you a chance to establish the right depth, inspect drainage, and create a more consistent foundation. In Florida, where sandy soils, sudden rain, and vigorous warm-season grasses are common, those checks matter.
This guide focuses on preparing an existing lawn area yourself. Tropical Yards supplies coquina shell and tropical plants, with dump trailer delivery from St. Augustine to Daytona Beach. Site preparation, excavation, edging, and spreading remain the buyer’s responsibility or the responsibility of a contractor the buyer hires independently.
Why Remove Sod Instead Of Covering It?
Sod is more than the green blades you see. It includes roots, runners, accumulated thatch, and soil held together by the turf. That organic layer is not a dependable structural base for a loose shell surface.
When you bury turf, some grass may survive around the edges or push through thin spots. Other portions can decay and leave shallow depressions. Adding more shell can hide those problems temporarily, but it does not address the buried material.
Removing the turf also makes it easier to set the finished shell height. A path should not become a raised strip that sends water toward a doorway or leaves an awkward step beside a patio.
- Remove grass and the concentrated root-and-thatch layer rather than simply shaving off the blades.
- Look for remaining runners along the edges, especially where the shell area borders an active lawn.
- Use the exposed soil to assess soft spots and drainage before ordering your final shell quantity.
- Keep the planned surface elevation compatible with nearby walks, planting beds, and building clearances.
Shell depth alone is not a reliable way to control established turf. Weed-control decisions and structural preparation are separate parts of the project, even when both happen during the same weekend.
Decide Whether Coquina Shell Fits The Area
Before cutting into the lawn, define how you will use the space. A garden walkway, decorative bed, and outdoor sitting area can require different preparation. Frequent foot traffic calls for a firmer, more consistent foundation than an ornamental strip beside a fence.
Coquina shell is a natural material, so its appearance and particle mix can vary. Ask about the material currently available rather than assuming it will match a photograph exactly. If texture, shell size, or color is important, clarify those preferences before purchasing.
Loose shell also behaves differently from a solid paved surface. Chairs with narrow legs, wheeled equipment, and mobility aids may not move comfortably across every shell texture. Test a sample or examine the material when practical, especially if accessibility is a priority.
Think about adjoining surfaces, too. Shell can migrate onto a sidewalk or into a lawn without a defined boundary. Areas that receive concentrated runoff may lose material unless the drainage issue is handled first.
For a vehicle-bearing area, do not assume that a simple garden-path preparation is sufficient. Soil conditions, loading, base construction, and drainage may warrant advice from an independent qualified professional.
Measure The Project And Set The Finished Height
Mark the proposed outline with a hose, string, or marking paint suitable for the location. Walk the route and check that gates open, people can pass comfortably, and the project does not interfere with utility access or irrigation equipment.
Measure the area before choosing excavation depth. For a rectangle, multiply length by width. Divide an irregular shape into smaller rectangles or triangles, calculate each portion, and add them together.
The shell layer is only one part of the total profile. Your excavation may need to accommodate a separate base layer, depending on the soil and intended use. Account for all layers when deciding how far below the finished elevation to dig.
- Identify the finished surface height at patios, sidewalks, thresholds, and lawn borders.
- Keep soil and shell below applicable siding, drainage, and termite-inspection clearances.
- Include edging thickness and height in the layout before removing the sod.
- Mark sprinkler heads, valves, drains, and other features that must remain accessible.
Do not choose an excavation depth solely from a generic online recommendation. A sandy decorative bed and a heavily used walkway over wet soil may need different solutions. The goal is a stable profile that fits the actual site.
Check Utilities, Irrigation, And Water Movement
Before digging, use Florida’s utility-location process and follow its marking and excavation requirements. Public utility markings may not identify private irrigation lines, landscape lighting wires, or other homeowner-installed features, so check those separately.
Turn off irrigation for the work area as needed and identify where the lines run. A sod cutter or shovel can damage shallow pipes, especially near sprinkler heads and tight corners.
Observe the proposed area after rain if possible. Notice whether water pools, crosses the lawn in a concentrated stream, or flows toward the house. A shell surface does not automatically fix those patterns.
Maintain an appropriate drainage route without redirecting water onto neighboring property. Where the site has persistent standing water, uncertain elevations, or runoff near a building, get qualified guidance before proceeding.
Also check local requirements and any homeowners association rules that apply to surface changes, excavation, or drainage. Doing that before the sod comes out can prevent a partially finished project from sitting exposed.
Choose A Practical Method For Removing Sod
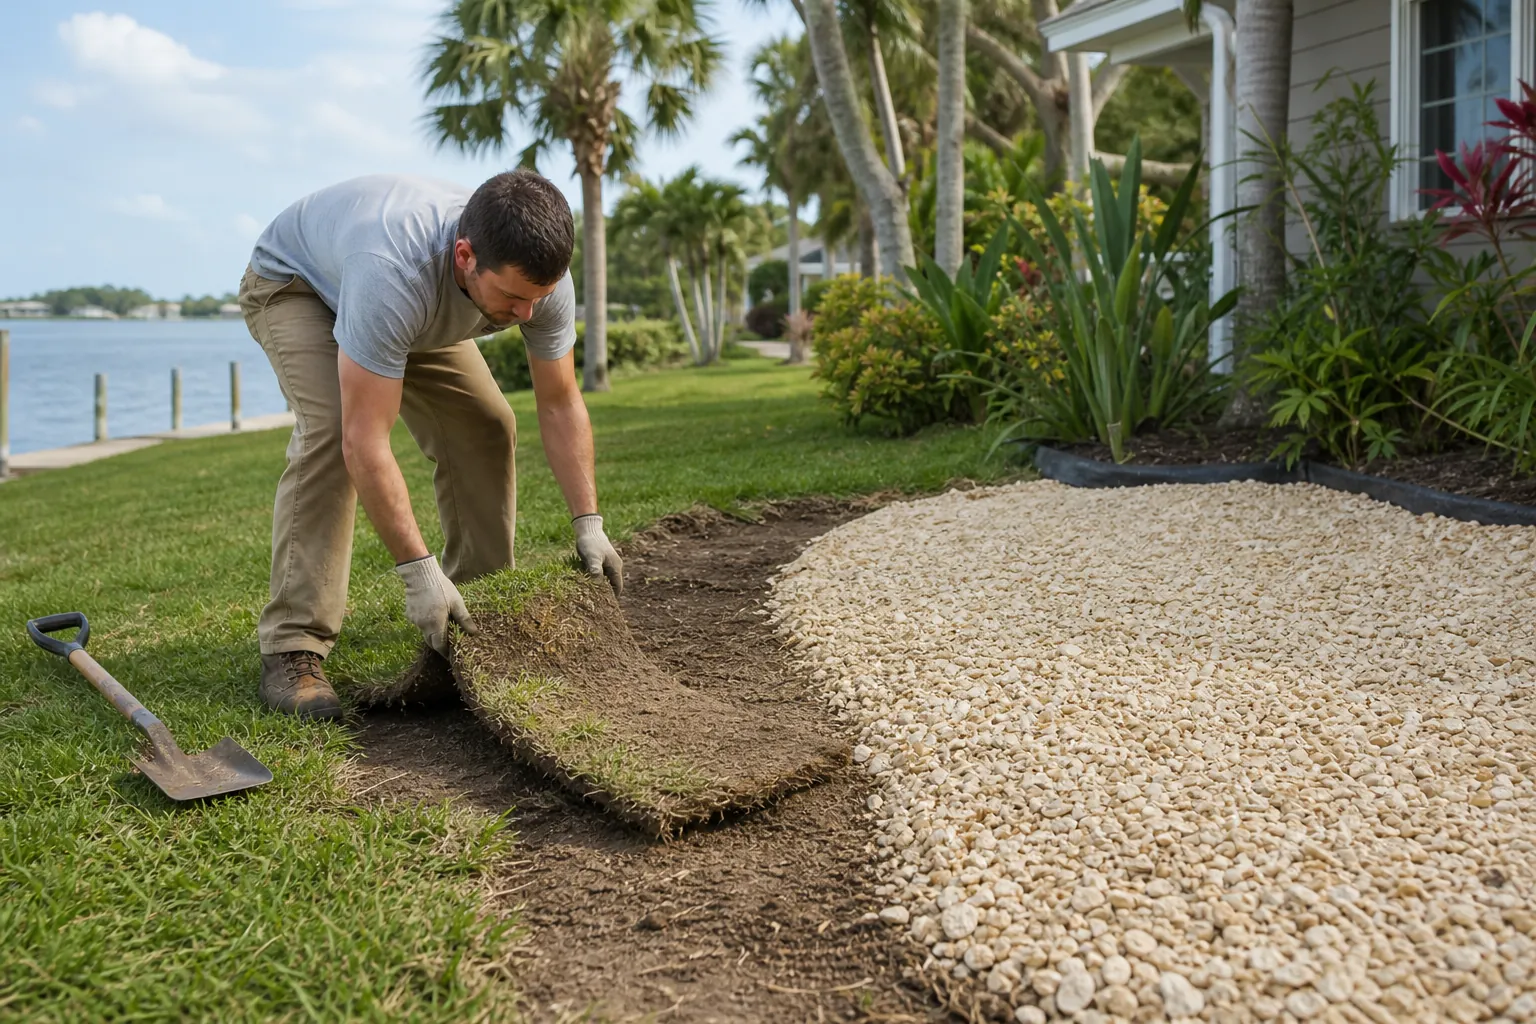
For a small area, a sharp flat spade or sod-cutting tool can be sufficient. Larger areas may justify renting a sod cutter, provided you can operate it safely and the site is accessible. Follow the equipment instructions and use appropriate protective gear.
Slightly moist soil is usually easier to cut than extremely dry ground. Saturated soil, however, can become heavy, messy, and vulnerable to rutting. Choose conditions that allow you to work without churning the ground into mud.
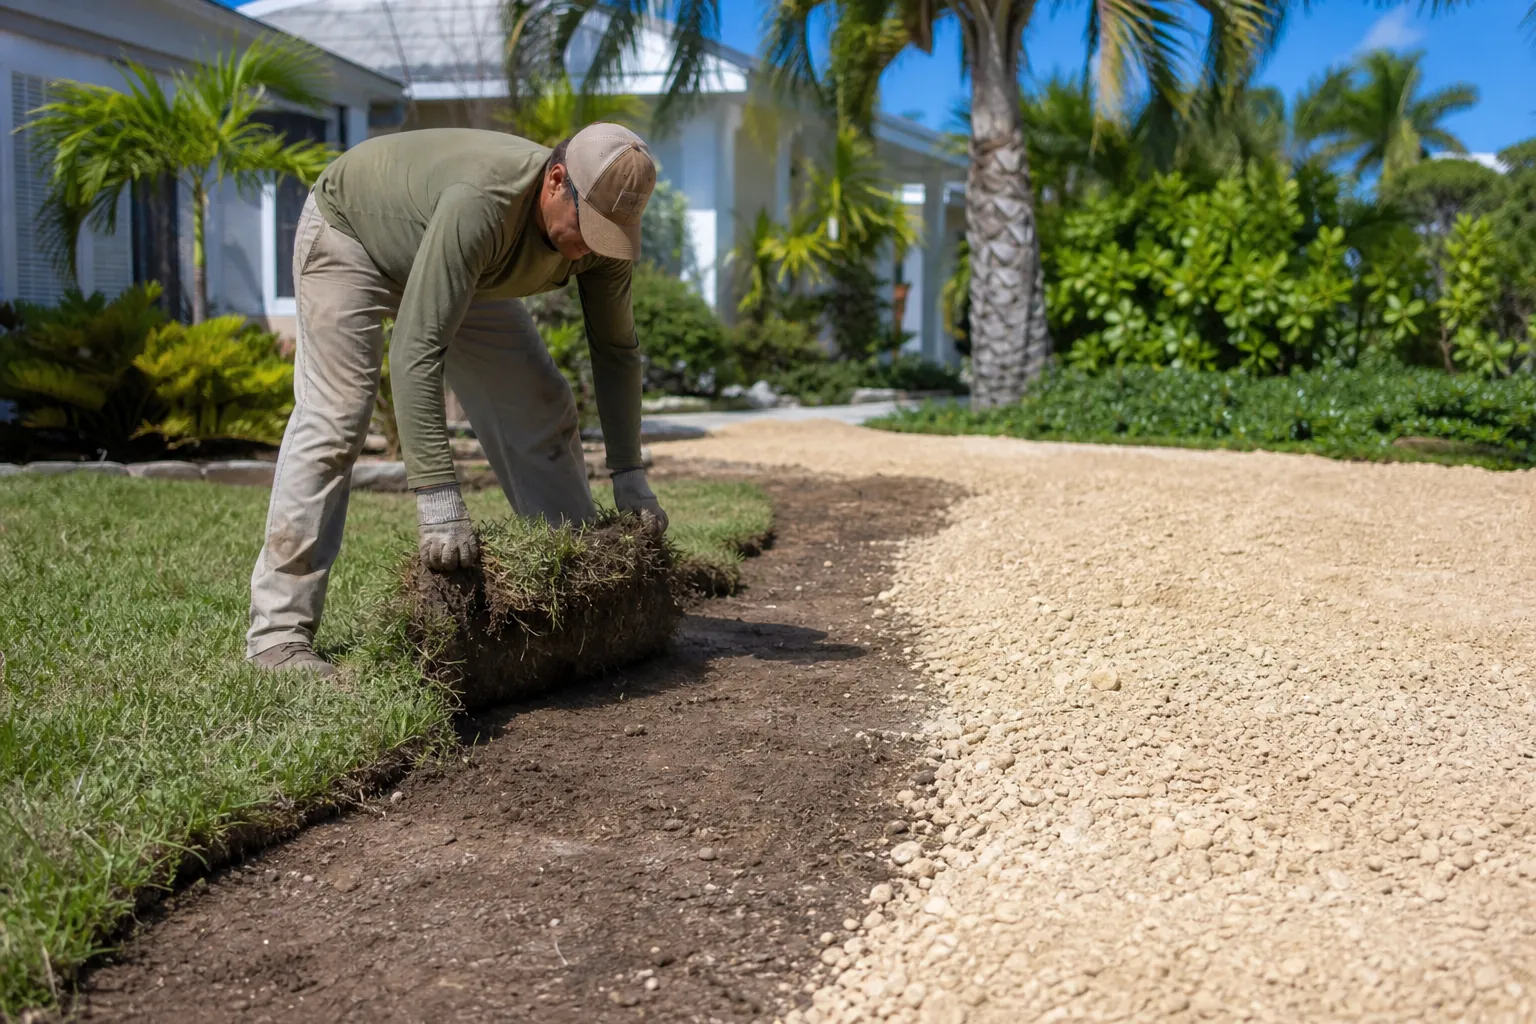
Cut the turf into manageable strips or squares. Slide the blade beneath the concentrated root layer, then lift each section. Try to remove the turf without taking unnecessary amounts of usable mineral soil.
- Start along a straight boundary so each new cut has a clear reference line.
- Use smaller sections if the sod is heavy or you are working alone.
- Inspect each exposed section for remaining roots, runners, and buried debris.
- Stop near marked utilities and use the required safe excavation practices.
- Keep removed sod away from drains, sidewalks, and the planned delivery location.
A sod cutter can make the work more consistent, but it does not eliminate handwork around curves, roots, or fixtures. Do not force equipment through an obstacle or increase cutting depth without checking what lies below.
Plan where the removed turf will go before starting. Healthy sections may be reusable elsewhere if handled promptly and watered appropriately. Otherwise, arrange disposal through an accepted local option. Tropical Yards does not remove sod or haul away project debris.
Inspect And Prepare The Exposed Ground
Once the sod is gone, rake the area lightly and inspect the surface. Remove leftover clumps of thatch and grass runners. Watch for buried construction debris, unusually soft patches, and roots that affect the planned depth.
Avoid cutting substantial tree roots simply to make the shell profile fit. If roots from a valuable tree cross the project, consider changing the layout or getting advice from a qualified arborist. Raising grades over roots can also affect tree health.
Shape the exposed soil to support the intended drainage pattern. Do not create a basin simply because the sod has been removed. Check elevations with a straightedge, string line, or another suitable measuring method rather than relying only on appearance.
If the project needs a base layer, select it for the intended use and soil conditions. A properly chosen compacted mineral base may improve stability, but it cannot compensate for unresolved water problems or buried organic material.
Use compaction equipment appropriate for the material and project. Work in manageable layers according to the equipment and material guidance. Soil that is excessively wet should not be treated as ready merely because it has been pressed flat.
Before covering the area, walk it carefully. If you encounter movement, pumping, or deep footprints, pause and determine the cause. It is easier to correct the foundation now than after the shell has been delivered and spread.
Decide Whether Landscape Fabric Is Appropriate
Landscape fabric is an option, not an automatic requirement for every coquina shell project. A suitable permeable geotextile can help separate underlying soil from an aggregate layer, particularly where mixing would be a concern.
It is not a substitute for sod removal. Fabric placed over living grass does not remove the organic layer or guarantee that aggressive turf will stop growing around the edges.
Choose a product based on the job it needs to perform. Separation, filtration, and weed suppression are different functions. Thin garden fabric may not be appropriate beneath a frequently used aggregate surface.
- Use permeable material when the project requires water to move through the profile.
- Follow the manufacturer’s instructions for overlaps, anchoring, and covering the fabric.
- Keep fabric from protruding above the finished shell surface.
- Avoid placing impermeable plastic beneath shell as a routine weed-control shortcut.
Even with fabric, windblown seeds can germinate in debris that collects on top. Plan for occasional owner-performed weeding and surface attention rather than expecting any underlayment to make the area maintenance-free.
Set Edging Before You Spread The Shell
Edging helps define the project and limit shell movement into surrounding grass or beds. Select a material that suits the location, intended traffic, and exposure to moisture. Follow its installation instructions rather than relying on the shell to hold it upright.
Set curves and corners before the delivery arrives. Check that the edging does not create a trip hazard or block the drainage route. Where water needs to cross a boundary, the edge detail must accommodate that movement.
Along a lawn, leave enough separation to identify and remove grass runners. Keep the boundary practical for any equipment you use yourself. Loose shell that spills into turf can complicate mowing and create a projectile hazard.
Recheck the usable area after setting the edging. Small changes to a curve or border can alter your order quantity, especially on a narrow path. Final measurements should reflect the area that will actually receive shell.
Calculate Your Coquina Shell Order
Estimate volume from the measured area and your chosen installed depth. When measurements are in feet, multiply square footage by depth in feet to get cubic feet. Divide cubic feet by 27 to express that volume in cubic yards.
For example, a 120-square-foot area with a planned 3-inch shell layer has a calculated volume of 30 cubic feet, or about 1.11 cubic yards. This illustrates the calculation only; it is not a recommended depth or an order recommendation for every project.
Confirm how the supplier sells the material. If an order is measured by weight, do not use a generic online density as an exact conversion. Moisture, particle composition, and the material itself can affect the relationship between volume and weight.
Discuss your measurements, intended use, and planned depth when ordering. Ask about current shell availability and whether you should account for settling or minor surface adjustments. Avoid ordering an arbitrary large surplus without a place to put it.
Use the coquina shell information page as your material-selection hub, then keep this preparation checklist focused on the turf-removal and foundation decisions. Tropical Yards can discuss its available shell and delivery arrangements, but site-specific construction decisions remain with you or your independently hired professional.
Prepare For Dump Trailer Delivery
A delivery plan is part of a successful DIY project. Tropical Yards offers dump trailer delivery of coquina shell and plants from St. Augustine to Daytona Beach. Confirm your address, access conditions, and requested placement when arranging an order.
Choose an unloading location that can be reached safely and does not obstruct public access. Consider overhead branches and wires, turning space, ground firmness, and the distance from the pile to your work area.
- Explain narrow gates, tight turns, slopes, and any access restrictions before delivery is scheduled.
- Keep vehicles, tools, and removed sod out of the agreed unloading area.
- Protect an appropriate staging surface if needed, without creating a slipping or access hazard.
- Have your wheelbarrow, shovels, rake, and helpers ready for moving the shell yourself.
- Confirm unloading arrangements rather than assuming the trailer can enter a backyard or cross a lawn.
Dump trailer delivery does not include shell spreading, grading, installation, or yard cleanup. Place the pile where you can manage it safely and efficiently without expecting delivery to complete the project.
Spread The Shell And Check The Finished Surface
Move shell into the prepared area in manageable loads. Spread it evenly with suitable hand tools, checking depth at several points rather than judging only by how much of the ground is covered.
Use the finishing or compaction approach appropriate for the material and intended use. Avoid assuming that every shell blend should be handled like crushed stone. If your preparation depends on a specific compaction method, resolve that question before ordering.
Inspect the finished edges and transitions. Make sure shell is not piled against plant stems, tree trunks, siding, drains, or irrigation fixtures. Sweep displaced material from nearby hard surfaces before anyone uses the area.
After rain and initial use, look for low spots, washout, or exposed underlayment. Minor redistribution may be manageable yourself, while repeated movement can indicate an underlying drainage or base problem that needs a different correction.
Order Materials With A Clear Preparation Plan
The most useful sequence is straightforward: define the project, verify utilities and drainage, remove sod, prepare the foundation, set boundaries, and confirm your material quantity. Ordering after those decisions reduces uncertainty and helps you choose a practical unloading location.
Tropical Yards supplies coquina shell and tropical plants, including palm trees, hibiscus, bougainvillea, ferns, and other tropical plants. If your project includes planting, choose plants for the site’s light, moisture, and mature-space requirements, and keep their planting areas distinct from the shell foundation.
For coquina shell availability and dump trailer delivery planning from St. Augustine to Daytona Beach, call Tropical Yards at 772-267-1611. Have your measurements and access details ready so you can discuss the materials you need for your own project.
Call 772-267-1611 to talk through next steps.