A practical guide to repairing tire ruts in coquina shell
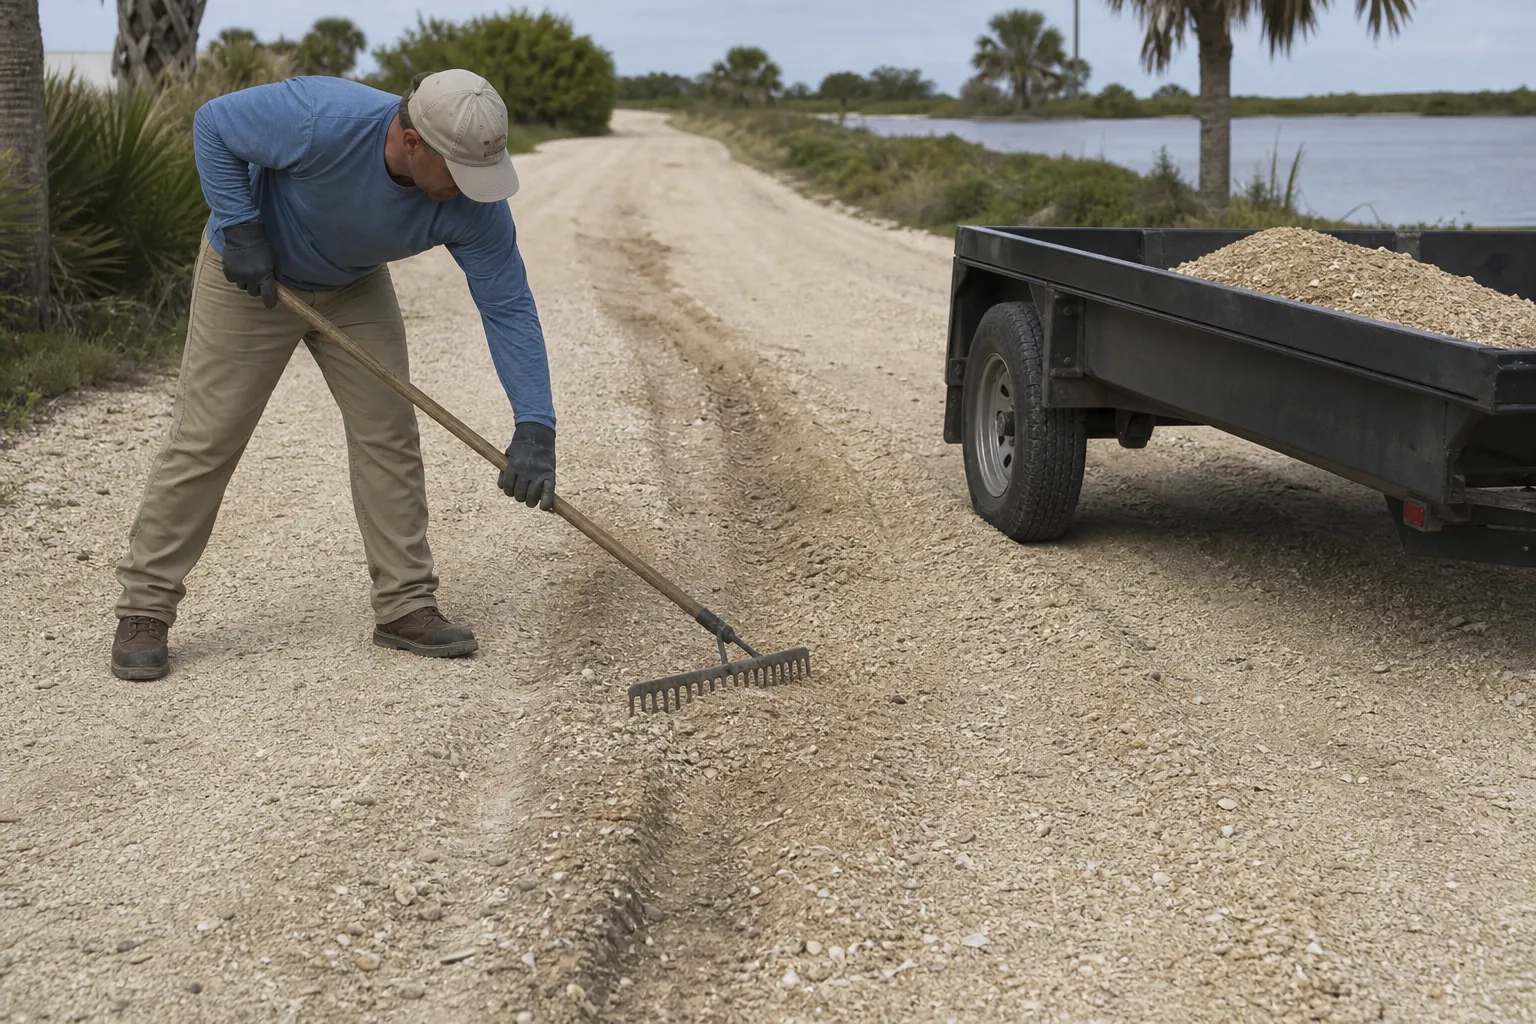
Tire ruts in a coquina shell driveway can look like a simple shortage of material. Sometimes they are. But recurring grooves, soft spots and puddles often point to a problem underneath the shell or to water moving through the driveway incorrectly. Adding more shell without checking those conditions can leave you repeating the same repair.
This guide covers repairing tire ruts in coquina shell as a homeowner DIY project, from diagnosing the damage to estimating material and planning delivery. Tropical Yards supplies coquina shell and tropical plants, with dump trailer delivery from St. Augustine to Daytona Beach. The company does not provide driveway repairs or landscaping labor, so the preparation, placement and compaction described here are work you handle yourself or arrange independently.
For material information, start with the coquina shell hub. The focused sections below cover rut diagnosis, repair quantities and dump trailer delivery planning without turning a localized repair into a complete driveway replacement project.
Find out why the tire ruts formed
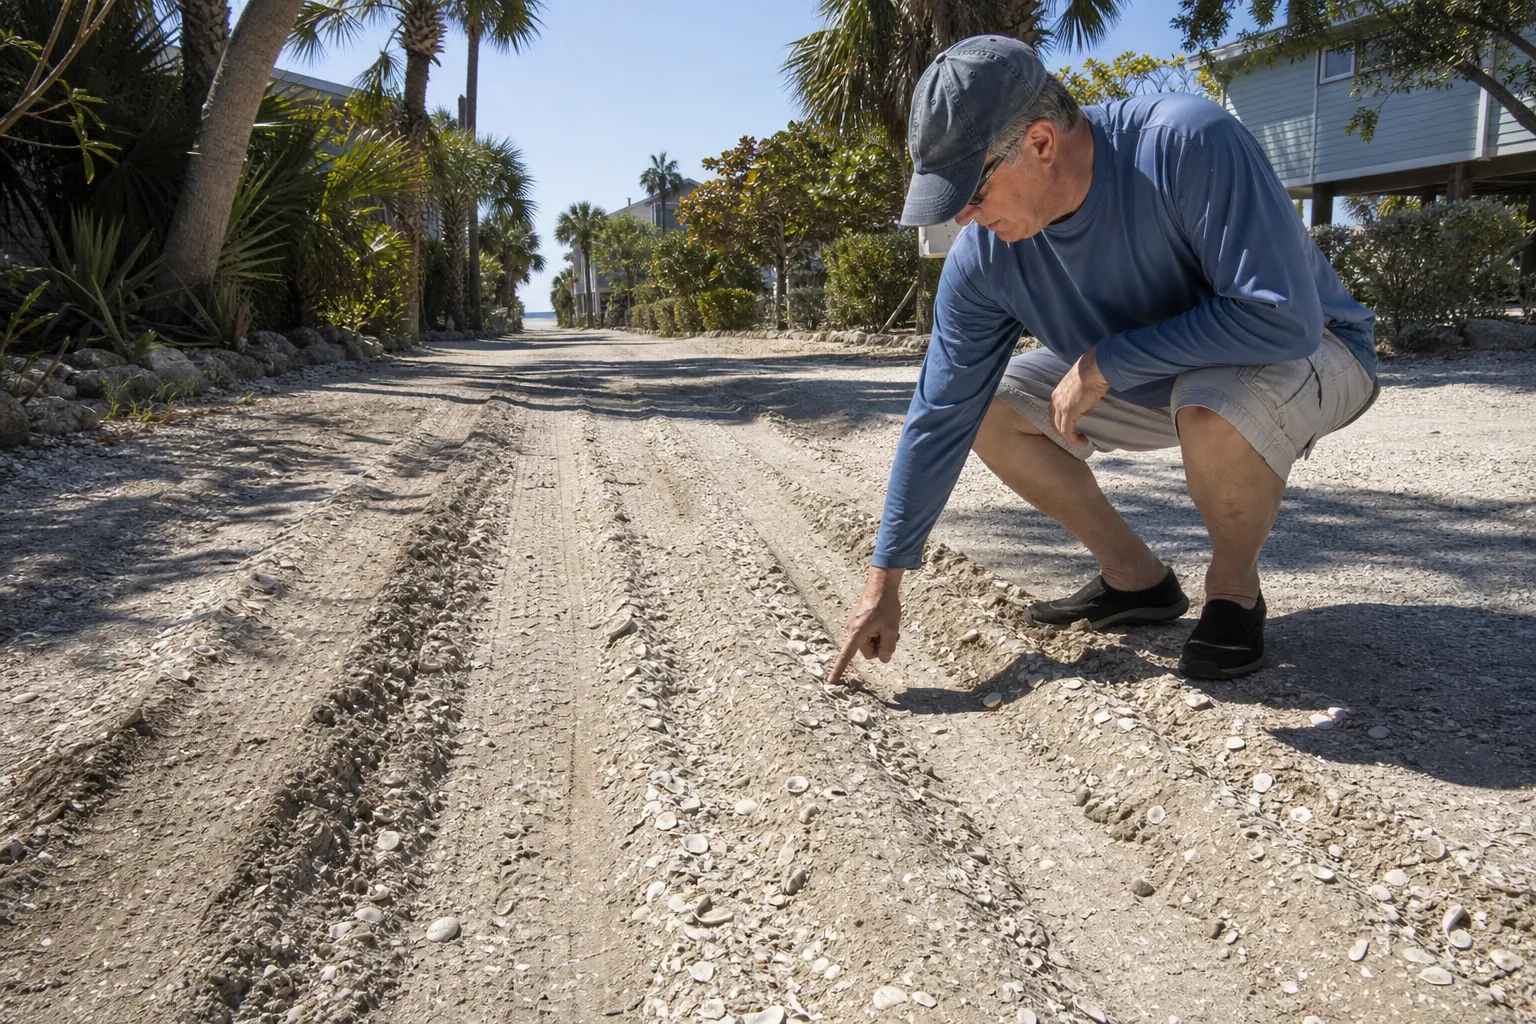
Begin by inspecting the driveway when it is dry enough to walk safely without sinking into the surface. Look along the tire tracks and across the driveway. A straight board laid across each damaged area helps show whether the rut is merely a low strip or part of a wider depression.
Shallow grooves with loose shell pushed to either side usually indicate surface displacement. Vehicles can move material sideways during braking, acceleration and steering, especially near a garage, gate or turnaround. If the ground below feels firm, reshaping and replenishing the surface may be enough.
Deep grooves that remain wet after nearby areas dry deserve closer attention. The supporting soil may be soft, drainage may be inadequate, or the driveway may receive runoff from a roof or neighboring grade. A shell surface cannot make a saturated foundation stable simply by covering it.
- Check whether the rut follows both wheel paths or appears only in one isolated location.
- Look for shell piled along the edges, which suggests that existing material has shifted rather than disappeared.
- Note any standing water, flowing water or soil pumping up through the shell.
- Inspect driveway edges for spreading or collapse where tires repeatedly travel too close to the shoulder.
- Watch for low spots near downspouts, irrigation outlets or transitions to paved surfaces.
Take photographs and record the dimensions before changing anything. These notes help you distinguish a successful surface repair from a problem that returns after the next heavy Florida rain.
Decide whether the repair is a manageable DIY job
A small, shallow rut over firm ground is generally more manageable than a long depression with wet soil underneath. The important distinction is not just the depth of the groove. It is whether the supporting material remains stable when loaded.
Use a shovel to examine a small section of the damaged area. Notice how much shell remains and whether the material beneath it is firm, muddy or mixed with organic debris. Avoid digging near known utility routes, drainage pipes or irrigation lines without confirming their locations.
If the driveway repeatedly sinks, receives concentrated runoff or has widespread soft areas, pause before ordering a surface top-up. You may need an independent qualified contractor to evaluate drainage, base preparation or the ability of the driveway to support its expected traffic.
Localized DIY repairs also need a realistic equipment plan. A rake can redistribute shell, but it cannot replace appropriate compaction. If you cannot safely operate or transport the equipment needed for the repair, arrange that part independently rather than assuming delivery includes placement or compaction.
Tropical Yards supplies the material. Its dump trailer delivery is not a repair, grading or installation service. Keeping that distinction clear helps you plan the full project instead of having a pile of shell arrive before the work area is ready.

Choose coquina shell that fits the repair
Coquina shell products can vary in particle size, texture, color and the amount of smaller material mixed among the larger pieces. Before buying, ask what the available shell looks like and whether it is appropriate for replenishing an existing vehicle surface.
Bring clear photographs of your driveway surface or describe the existing material when discussing your order. Matching the general texture can make it easier to blend a repair into the surrounding driveway. An exact visual match may not be possible because weathering and natural variation affect appearance.
Do not assume that every shell product behaves identically under tires. A predominantly decorative material may not perform like a blend intended for a compacted surface. Ask about the supplied product rather than relying on the word shell alone.
- Confirm the material description before placing your order.
- Ask how the shell is sold and how the ordered quantity is measured.
- Discuss the intended use as a driveway rut repair, not simply a decorative garden covering.
- Check whether the material is available in a quantity suitable for your repair area.
- Plan how you will move the delivered shell from the drop location to the driveway.
If your investigation shows that the underlying support needs rebuilding, do not treat additional coquina shell as a substitute for that work. Determine the required foundation approach separately before calculating the final shell surface quantity.
Measure the repair area before ordering
Measure each rut's length and average width. Then estimate the average compacted depth of material needed to restore the intended surface. The deepest point alone is not a useful average if most of the groove is much shallower.
For irregular damage, divide the area into short sections and calculate them separately. Include any surrounding surface you will blend into the repair, but subtract areas where existing shell can be recovered and reused. Your measurements should reflect the planned repair, not the entire driveway by default.
When measurements are in feet, multiply length by width by depth to get cubic feet. Divide cubic feet by 27 to express the volume in cubic yards. Convert inches of depth to feet before multiplying.
For example, two wheel tracks that are each 20 feet long and 1 foot wide have a combined area of 40 square feet. At an average finished depth of 2 inches, the geometric volume is about 6.7 cubic feet, or approximately 0.25 cubic yard.
That example is a measurement exercise, not an ordering recommendation. Loose material settles during compaction, the actual ruts may be uneven, and some existing shell may be reusable. Ask the supplier how to relate your estimated finished volume to its selling unit and the available delivery quantity.
If shell is sold by weight, do not use a generic online conversion as though it were exact. Moisture and the supplied material's composition affect the relationship between weight and volume. Confirm the ordering basis with Tropical Yards before finalizing your purchase.
Prepare the ruts instead of burying the problem
Choose a workable weather window. Repairing a wet depression immediately after a storm can trap the underlying problem beneath new material. Let the area dry enough to evaluate its firmness, and avoid scheduling the work when significant rainfall is likely to interrupt preparation.
Keep vehicles off the repair area while you work. Remove sticks, leaves and other loose organic material yourself. These materials should not be buried under the shell, where they can decompose and leave uneven support.
Rake displaced shell back from the shoulders of the ruts and set reusable material aside. Break up the sharply defined groove edges so the repair can blend gradually into the adjacent surface rather than creating narrow strips of fresh material.
If the exposed foundation is soft, stop and resolve that condition before continuing. Simply packing shell into mud can mix the surface material with the soil and leave the driveway unstable. The appropriate correction depends on the site, water conditions and expected vehicle load.
- Separate reusable shell from soil-heavy or debris-filled material.
- Keep the prepared area clear of traffic until the surface has been restored.
- Check the transition to sidewalks, garage slabs and paved roads before raising the surface.
- Preserve a drainage path that does not send water toward buildings or neighboring property.
Wear gloves, eye protection and sturdy footwear when handling shell. Follow equipment instructions, control dust where appropriate and keep children and pets away from the work zone.
Place, shape and compact the shell carefully
Once the supporting surface is firm and properly prepared, return usable shell and add new material as needed. Spread it evenly with a rake rather than dumping the entire repair quantity into one spot and driving over it.
For deeper repairs, work in manageable layers that your chosen compaction equipment can effectively consolidate. Follow the equipment manufacturer's guidance on suitable material, layer thickness and operation. A thick loose fill can appear level while remaining poorly compacted underneath.
Shape the surface to blend with the surrounding driveway. The goal is a smooth vehicle path with drainage preserved, not two raised ridges where the tire tracks used to be. Check your progress with a straight board across the repaired area.
Compact methodically and recheck the level afterward. Compaction can reveal low spots that were not obvious while the shell was loose. Add small amounts where needed, then repeat the shaping and compaction process rather than leaving soft patches.
Appropriate moisture can affect compaction, but soaking the driveway is not a universal solution. Follow product and equipment guidance, and do not introduce enough water to soften the supporting soil or create runoff.
Once the repair is stable, inspect the transitions at both ends. Abrupt lips can catch tires and encourage renewed displacement. Resume traffic cautiously and monitor the repair after rain and normal use. Avoid hard braking and turning stationary wheels on the newly restored surface.
Address drainage and traffic habits that cause repeat damage
Florida rainfall can expose weak points quickly. After the next rain, observe where water enters the driveway, where it flows and where it remains. Do not walk into flooded areas or operate equipment during unsafe weather.
A driveway should not rely on tire ruts as its drainage channels. If water consistently follows the wheel paths, the surface shape or surrounding drainage may need correction. Significant changes to grades or drainage structures deserve site-specific professional advice.
Check irrigation as well. A sprinkler that repeatedly wets one wheel track can keep the foundation softer than the rest of the driveway. Adjust your own system only within your ability and without creating problems for nearby plants.
Driving habits matter too. Tight turns, rapid acceleration and repeated parking in the same vulnerable spot can shift loose surface material. Where practical, make gentle steering movements while rolling and keep heavier vehicles away from unsupported edges.
For driveways bordered by tropical plants, leave room for mature growth and access. Palm trees, hibiscus, bougainvillea and ferns have different space and care requirements. Planting beds should not force vehicles onto a narrow shell shoulder or block drainage routes.
Tropical Yards sells these and other tropical plants, but plant selection and homeowner care are separate from driveway repair. If you buy plants for a nearby bed, plan your own planting work so it does not disturb the repaired surface.
Prepare for dump trailer delivery before repair day
Material access can determine whether a small repair stays manageable. Choose a drop location close enough for practical wheelbarrow trips, but away from traffic, drainage routes and the section you need to prepare.
Tropical Yards offers dump trailer delivery of plants and coquina shell from St. Augustine to Daytona Beach. Before ordering, discuss your address, access conditions and intended drop location. Delivery feasibility depends on the actual approach and conditions at the property.
- Describe gates, narrow entrances, sharp turns and any overhead branches or wires.
- Identify a firm, reasonably level unloading location and discuss its suitability with the supplier.
- Keep parked vehicles, tools and other obstacles away from the access route.
- Tell the supplier about septic systems, buried utilities or other sensitive areas that must be avoided.
- Confirm whether someone needs to be present to identify the agreed drop location.
Do not assume a dump trailer can travel over a soft driveway or unload beneath low clearance. Keep the delivery route separate from unstable repair areas whenever possible. Ask questions before delivery day rather than trying to solve access problems with the trailer already on site.
If you are ordering tropical plants at the same time, discuss that separately when arranging delivery. Have a safe place ready to receive the plants and plan their watering and homeowner planting needs without obstructing shell handling.
Check the repair before buying more material
After the restored surface has seen rain and ordinary traffic, compare it with your original photographs. A few loose pieces at the surface are different from a rut that reforms in exactly the same place. Repeated sinking is a reason to revisit the underlying conditions, not automatically order another load.
Keep your measurements and material notes for future reference. They can help you estimate a small adjustment more accurately and avoid buying shell for areas that do not need it.
For coquina shell availability, ordering questions and dump trailer delivery planning from St. Augustine to Daytona Beach, call Tropical Yards at 772-267-1611. Share your repair dimensions, photographs and access details so you can discuss the material purchase before starting your DIY work.
Call 772-267-1611 to talk through next steps.